What follows is a story that really doesn’t deserve to be written down. It is a story of searching for a couple of small plastic parts made abroad, and finding or making their replacements with what is available here at home – using labor and tools that far, far, exceed the value of the parts. Perhaps it is an omen of things to come, or perhaps it is a sign of a kind of insanity I suffer from. You be the judge.
Back when I sold bikes, I carried a Dutch brand named “Gazelle”. Their olde tyme bikes were my favorites – especially the “Basic” and “Toer Populair” models. One of my favorite features, on these marvels of late 18th- and early 19th-century manufacturing, were their special rear racks with integrated kick stands. The racks are really neat – to park, you hop off your bike and unclip the integrated stand. It swings down and sweeps under the rear wheel and your bike stands upright – no leaning, no interference with any mounted pannier bags, no blind hunting for the kickstand with your toe. When you want to ride again, you sweep your foot in front of the kickstand and up it comes to your hand. All it takes is a little push and – “click” – the stand is secured in place. Off you go. Like so many Dutch cycling norms, it is elegant – the result of many mechanical geniuses plugging away at the problem of practical cycling for a few decades.
With my shop closed down and a few spare racks sitting in a heap in my garage, I decided to outfit an old Pashley Roadster with one. The rest got recycled for scrap metal (something that I can type and talk about, but suffer greatly when I recall the act itself).
There was a hiccup in my plan – the spare racks were missing their little rubber feet (which kept the kickstand stable when deployed) as well as some sort of strange plastic or rubber clip (which kept the kickstand securely in place when riding around).
Without the rubber feet …

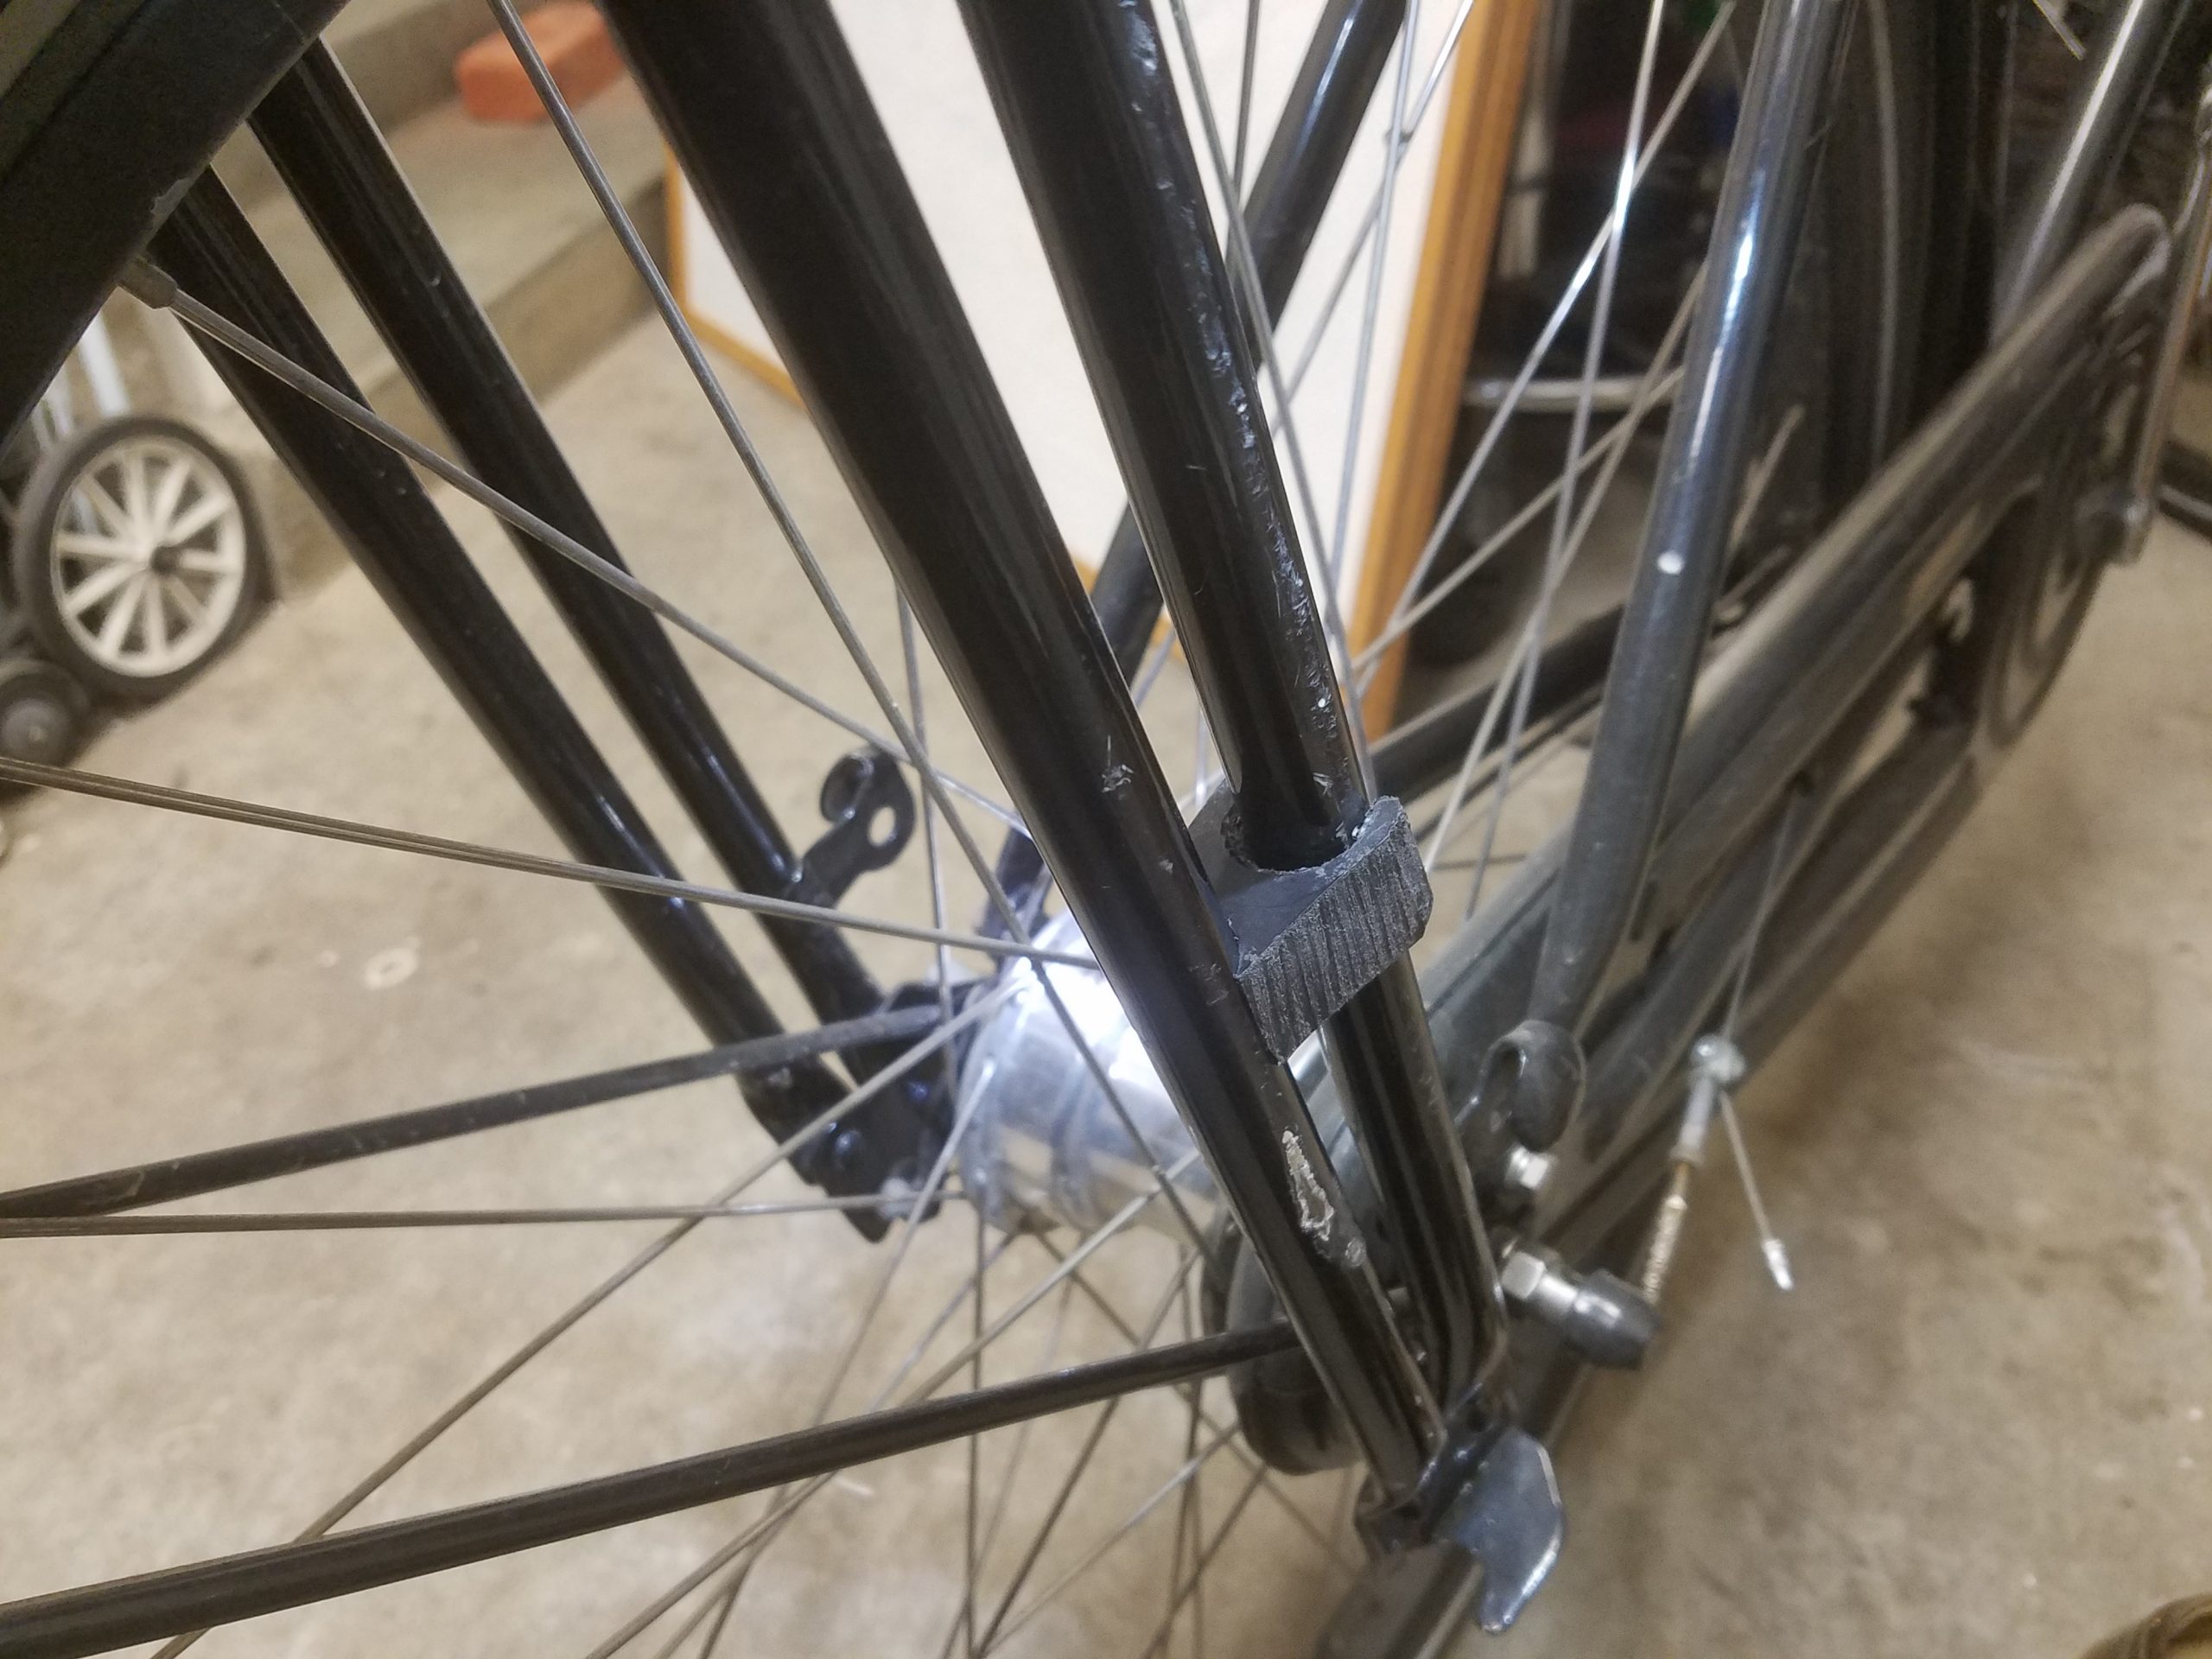
Jeez, I gotta get that kickstand fixed.
… it didn’t take much to tip over the Pashley.
Without the rubber clip … I have no photos, but trust me when when I say there are few things more scary than riding a bike downhill, hitting a small bump, followed by a loud screeching noise with little bits of sparking metal shooting off the back of what you suppose is your rear wheel.
The first order of business was to dream. I dreamt of a trip to Holland. I dreamt of walking into a humble little bike shop and speaking perfect Dutch to the clerk about local politics, the weather, what Los Angeles was like this time of year, and how much of a fan I am about so many Dutch things – like bikes, licorice, their work ethic, and a culture of integrating the best and most useful of what they encounter in other cultures. Oh! I was so worldly! I was so smart! Really, something of a renaissance man.
I woke up to a bike that alternated between falling over when parked and putting on an involuntary 4th of July show when in motion.
After a few months, my dreams bubbled up with the beginning of a solution: I was speaking in (totally phony make believe) Dutch. Dutch is a language. People still speak it. They write it. These parts came from companies that sell these parts with Dutch names. I needed to find these parts using their Dutch names!
For those that haven’t done this before, Google Translate with their Image Search is your best friend. After a few hours, I found the little rubber feet.
The little plastic feet are called “beschermdop klapstandaard”.
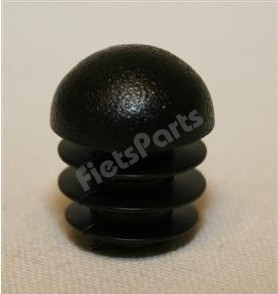
This is what the little plastic feet from the factory for the kickstand look like.
The funny little clip is not just a clip. It is a clip with a rivet! The clip and rivet are called “klapstandaard klem” with “pop-nagel”. You have to be sure to include “Gazelle omafiets” in your search.
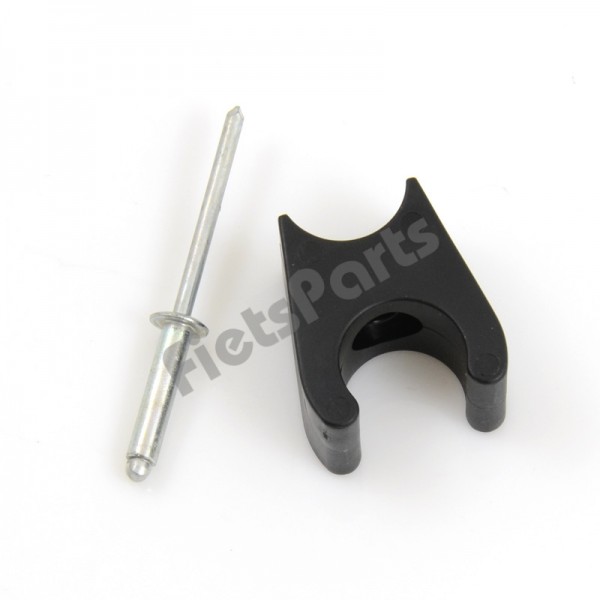
Here is the missing kickstand clip with a pop rivet.
I tracked down a few online Dutch cycling parts dealers and saw the parts selling for only a few Euros. Awesome! I love the internet! Click, click, “Add to cart”, click, click, “Input shipping address”, click, “Estimate Shipping”, click … holy sh%^.
Wow.
I had to look again.
Wow.
I check some German cycling parts sites.
Holy moly, the shipping was *more* expensive.
Ah jeez, forget it. Just forget it.
My dreams changed. Now I was no longer visiting Holland. I was stuck back home, in Los Angeles. I wasn’t worldly. I wasn’t a Renaissance Man. I was a sucker. I was turning on the tap and no water was coming out. I picked up my phone to call and complain but the battery was drained because the power wasn’t working either. I hopped on my bike to ride to my relatives house but the tires were flat and as I walked down the street with it I was held up by a gang of bandits and sent back home – thirsty, no bike, and grumpy as hell. What the hell happened to the global supply chain?! I ain’t paying no $50 in shipping for some ding dang plastic bits in a bin somewhere in the God forsaken Netherlands!
As time passed, and the sparks flying off the back of the Pashley only got worse, something in my mind clicked. At this point, I had been working as a certified Electrical Trainee for a couple of contractors. I had spent about a month as a maintenance worker in a small fabrication company. A friend had me help as an assistant building custom hand rails. My bicycle repair trade skills, which have a market value somewhere above “sleeping hobo on a sidewalk” and below “guy washing windows at a traffic light” had morphed and changed into “trade apprentice”. The time I had spent hunting for fasteners of various pitches and diameter and thread counts made me a valuable guy to have around from time to time. I knew about hand tools. I knew about their uses. Ditto for power tools.
The idea hit me one day – this kickstand and rear rack is made of metal tubes. Metal tubes have an inner diameter, they have an outer diameter. They are not magic bike parts that require me to use special bike manufacturer-approved mystical unicorn parts to repair. I could make my own, or find something off-the-shelf, and stop with the falling over and the metal sparks.
Out came the vernier calipers.
Based on my measurements, I was able to find some polyethylene plastic feet from McMaster Carr that keep the metal tubes from scratching the ground (or being themselves scratched) and keep water out when the kickstand is not deployed. The replacement part I bought was for tubing with an inner diameter of 0.46″ to 0.57″ with part number #9283K11.
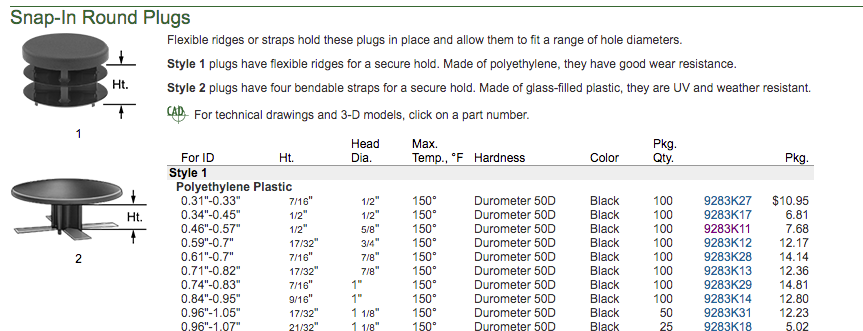
This is the snap-in polyethylene foot I found to replace the Gazelle version.
Hah! The kickstand still shot sparks – but falling over? Only if I kicked it over! Woo hoo! Success.
Okay, now comes the clip; this strange clip. Hmm. The tube the clip attached to got measured. The tube that made up the kickstand got measured. Both tubes were approximately 16mm in diameter, or about .629″. “Not much I can do with that”, I thought. Then I pulled up a fractional drill chart, and looked at the closest thing I had to .629″ in my drill bit case. 0.629″ is really close to 5/8″ (or .625″) – which is a common fractional inch drill size, and a size I had several iterations of in my collection.
What if I bought some kind of plastic material and cut my own dang clip out of it? Perhaps I could use my 5/8″ drill bits to drill the material into a clip shape to snap onto the tubes, and I can figure out how to use what I had to cut the rest of the shape by hand?
McMaster Carr sells all sorts of stuff, including sheets of plastic. For $12 plus shipping and California sales tax, McMaster provided a 6″ x 6″ x 3/4″ thick sheet of Ultra High Molecular Weight (UHMW) Polypropylene plastic, in black. It arrived a day after I paid for it online.
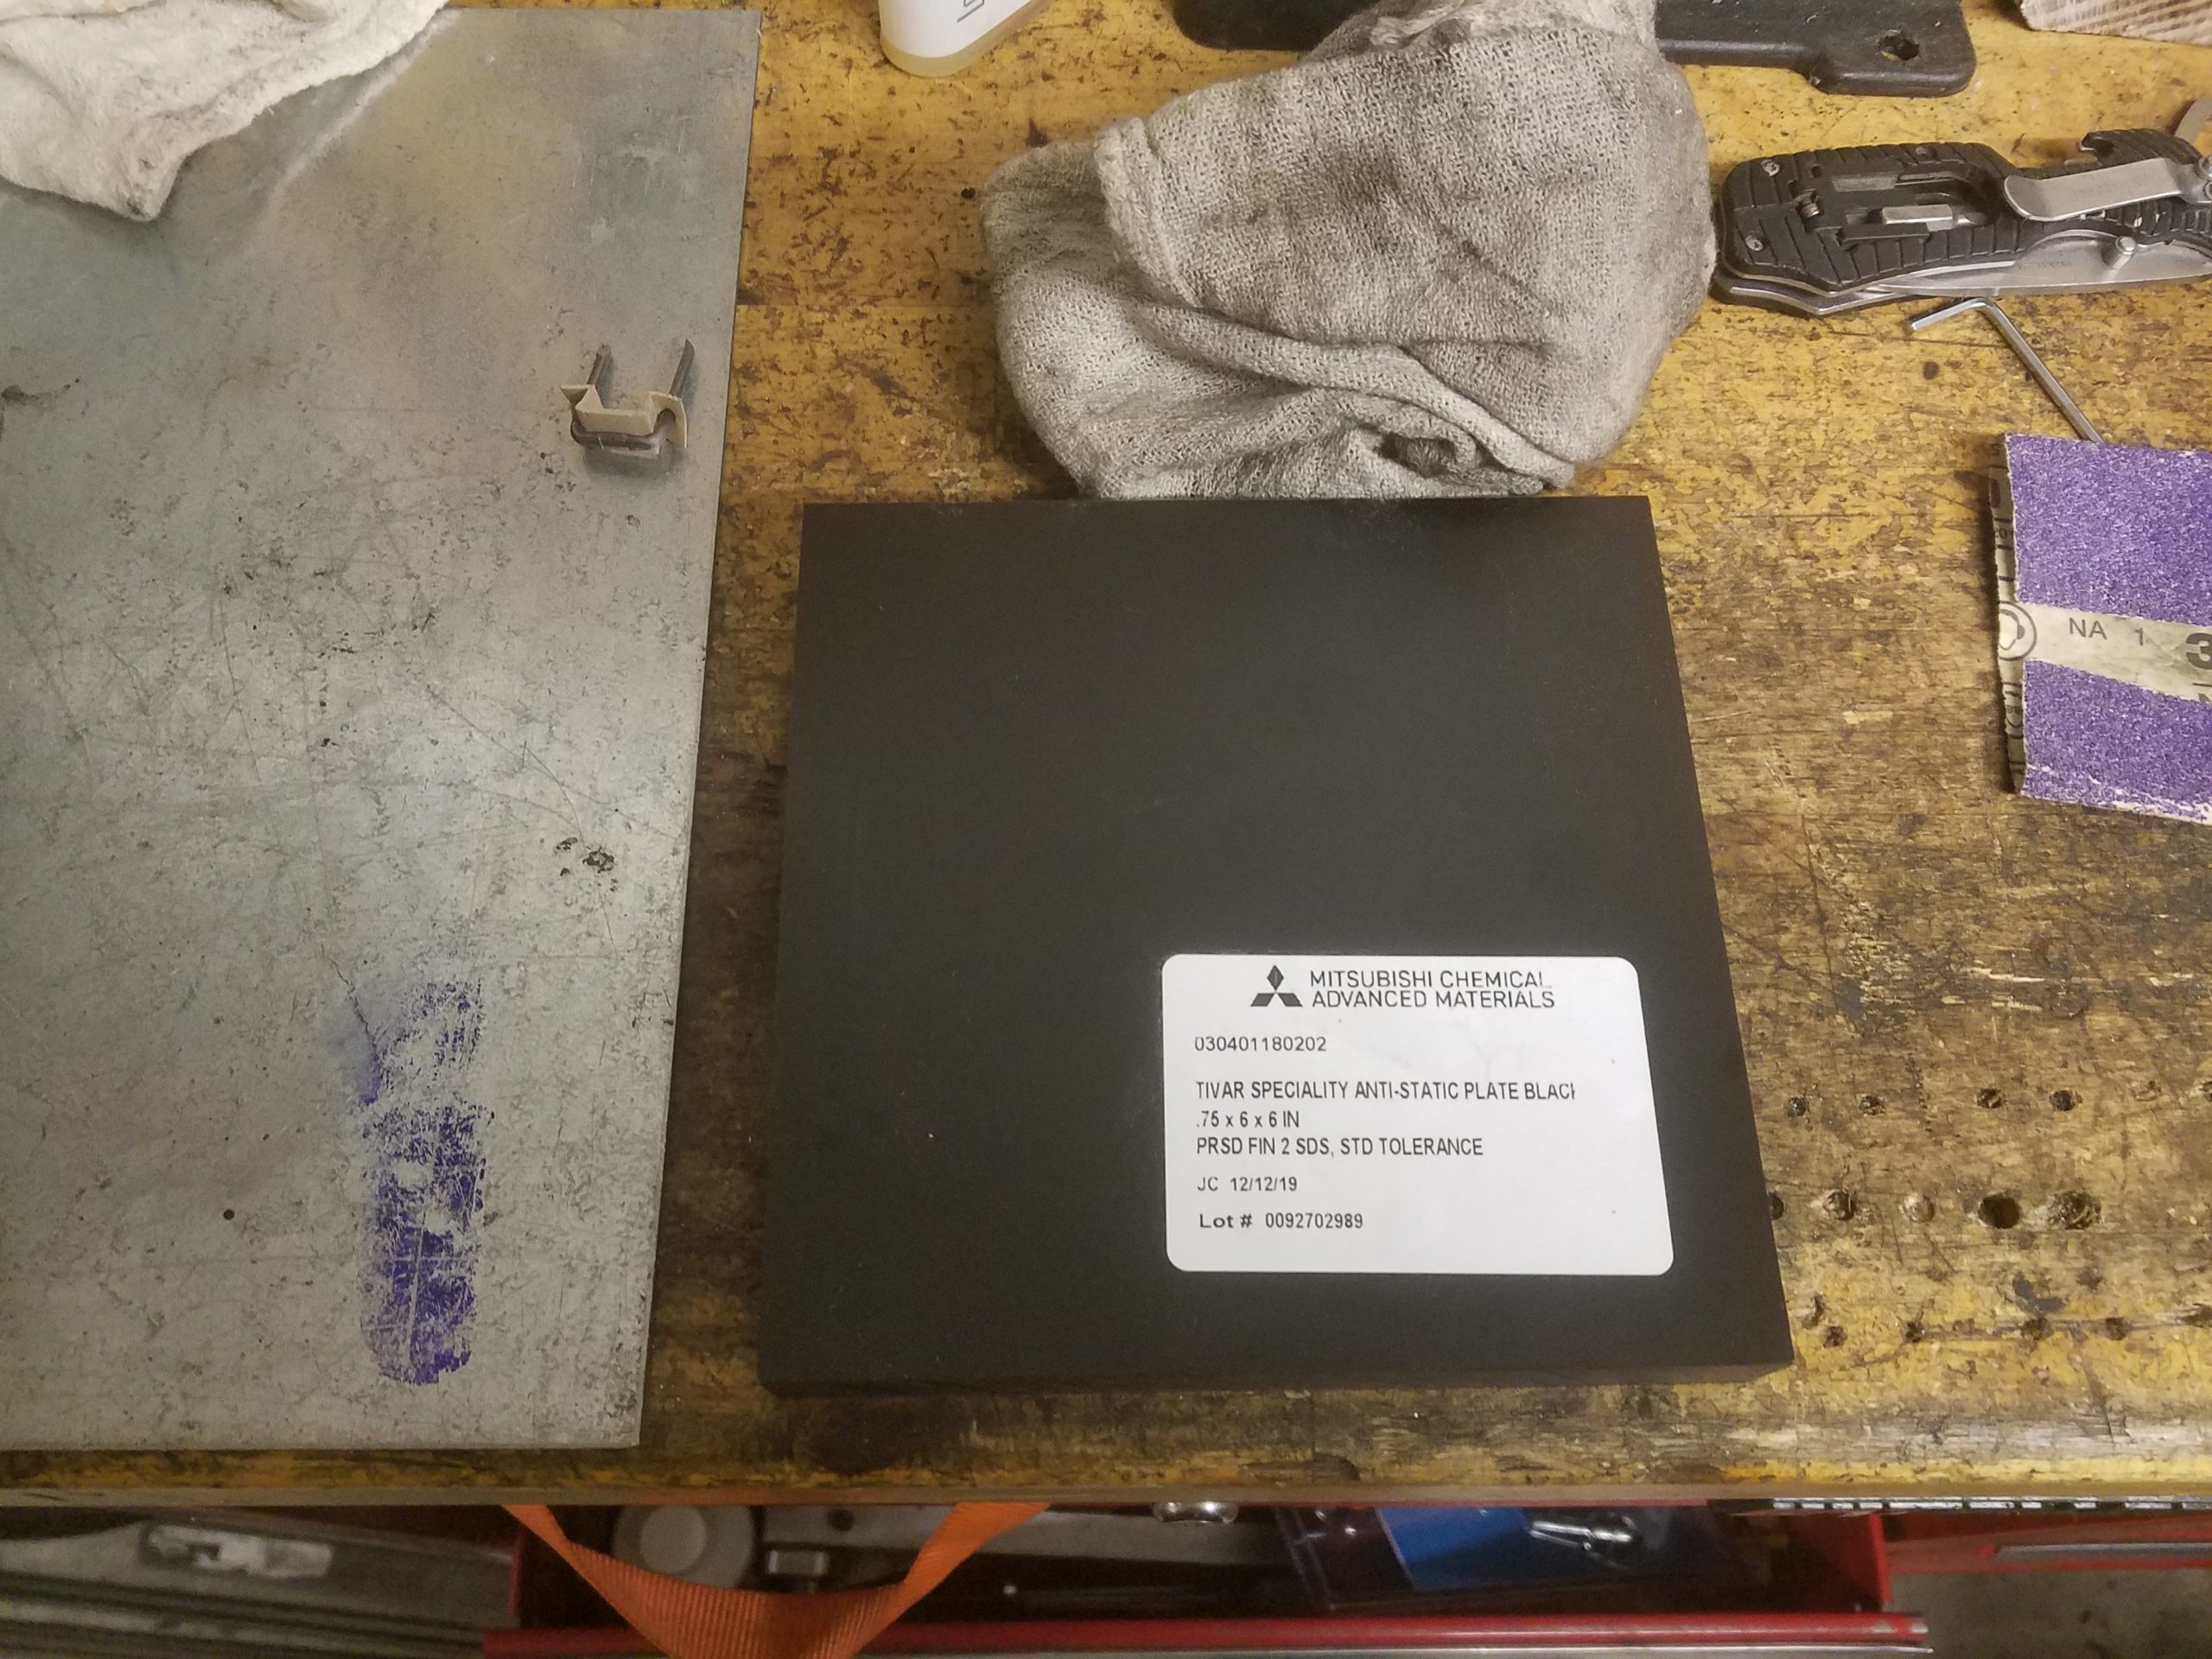
McMaster-Carrs UHMW Polyethylene 6″x6″x.75″ sheet to the rescue?
With some image editing software, I created a 1:1 scale image of the part I wanted as viewed from the top.
Wow, this looks like things are going well with the fabrication process!
Once printed, the paper got cut to fit the block of plastic, spray-tacked on with some 3M spray glue and everything went fine after that!

This is fine. Everything is fine.
Hah, yeah right. It took multiple attempts.
UHMW plastic has some wonderful properties – it is impact resistant; it holds up in wet and dry conditions; it also holds up to sunlight rather well. Unfortunately, it is a real pain to cut and machine.
With no router, and no mill, I tried a hand held Dremel rotary tool set to 10,000 to 15,000 RPMs with a milling bit. I could not get through the material.
When the tool was bumped up to 35,000 RPMs it cut great – but left plastic fuzz everywhere and left a horrible finish on the work piece.
It was really, really, difficult to control as well. I am being generous when I say using this tool to cut this plastic was a waste of time.
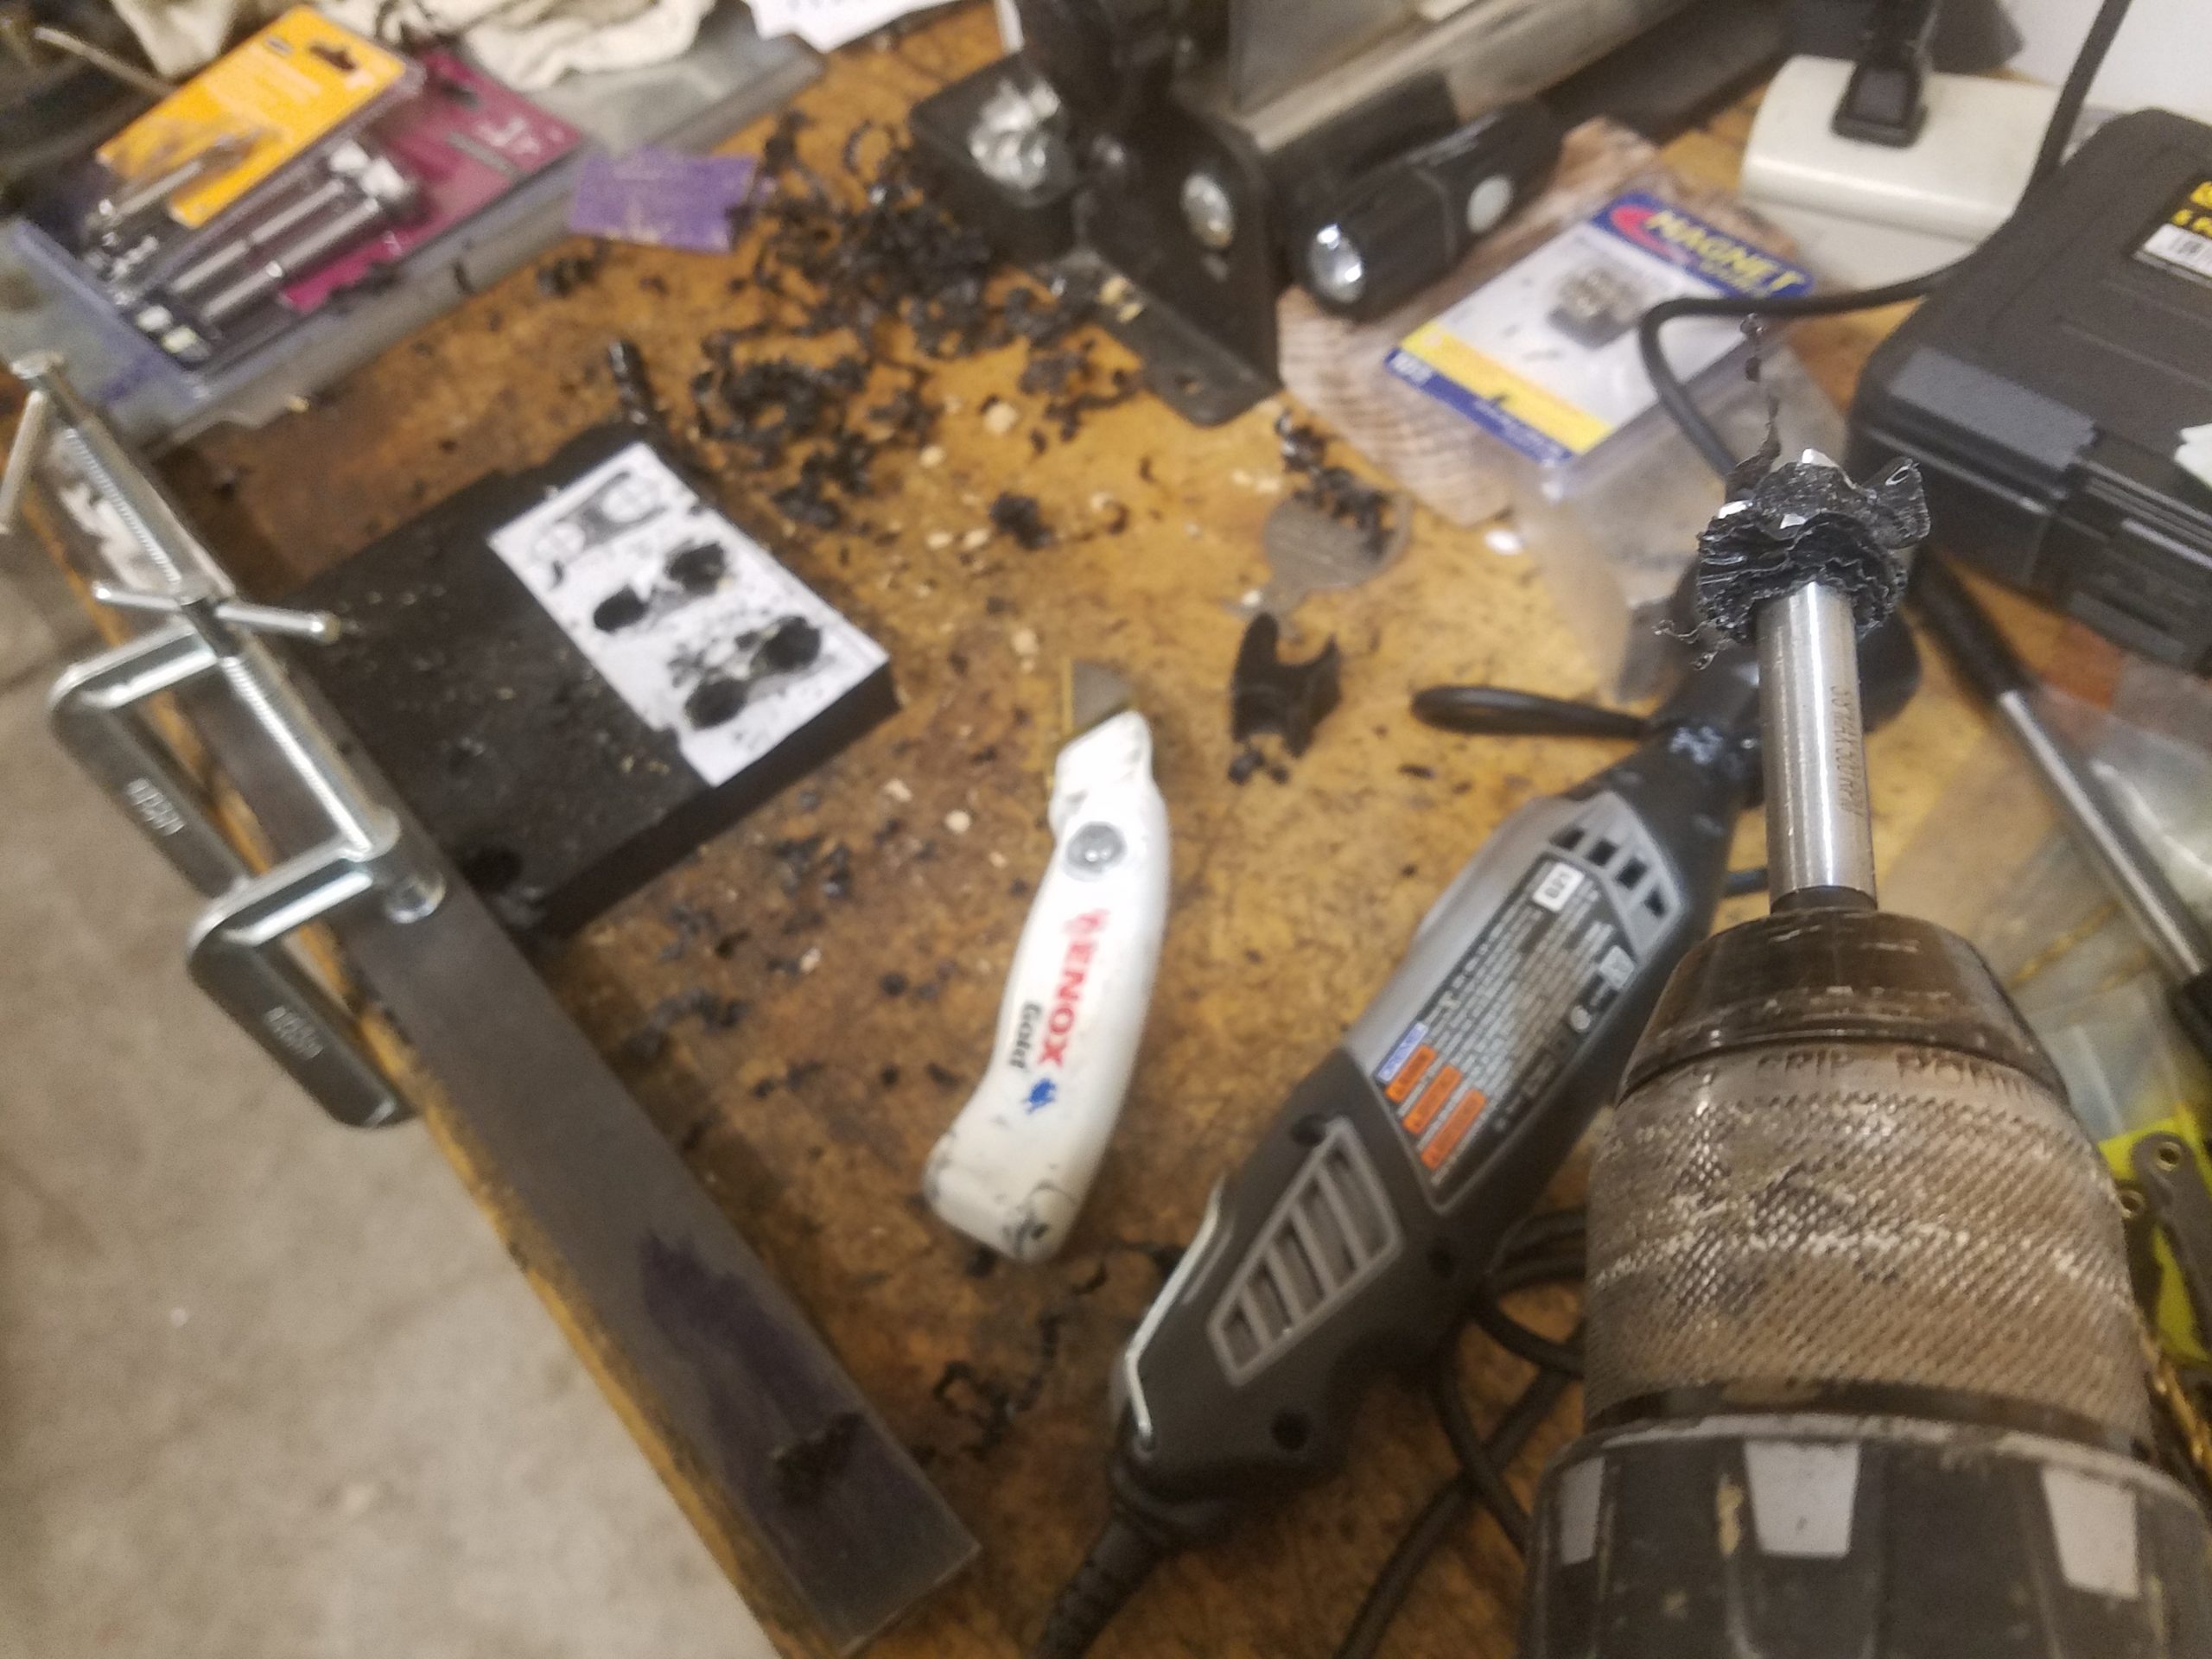
Harbor freight drill bits and free hand milling with a Dremel? What could go wrong?! Clogged Forstner bit in foreground in this image.
What worked?
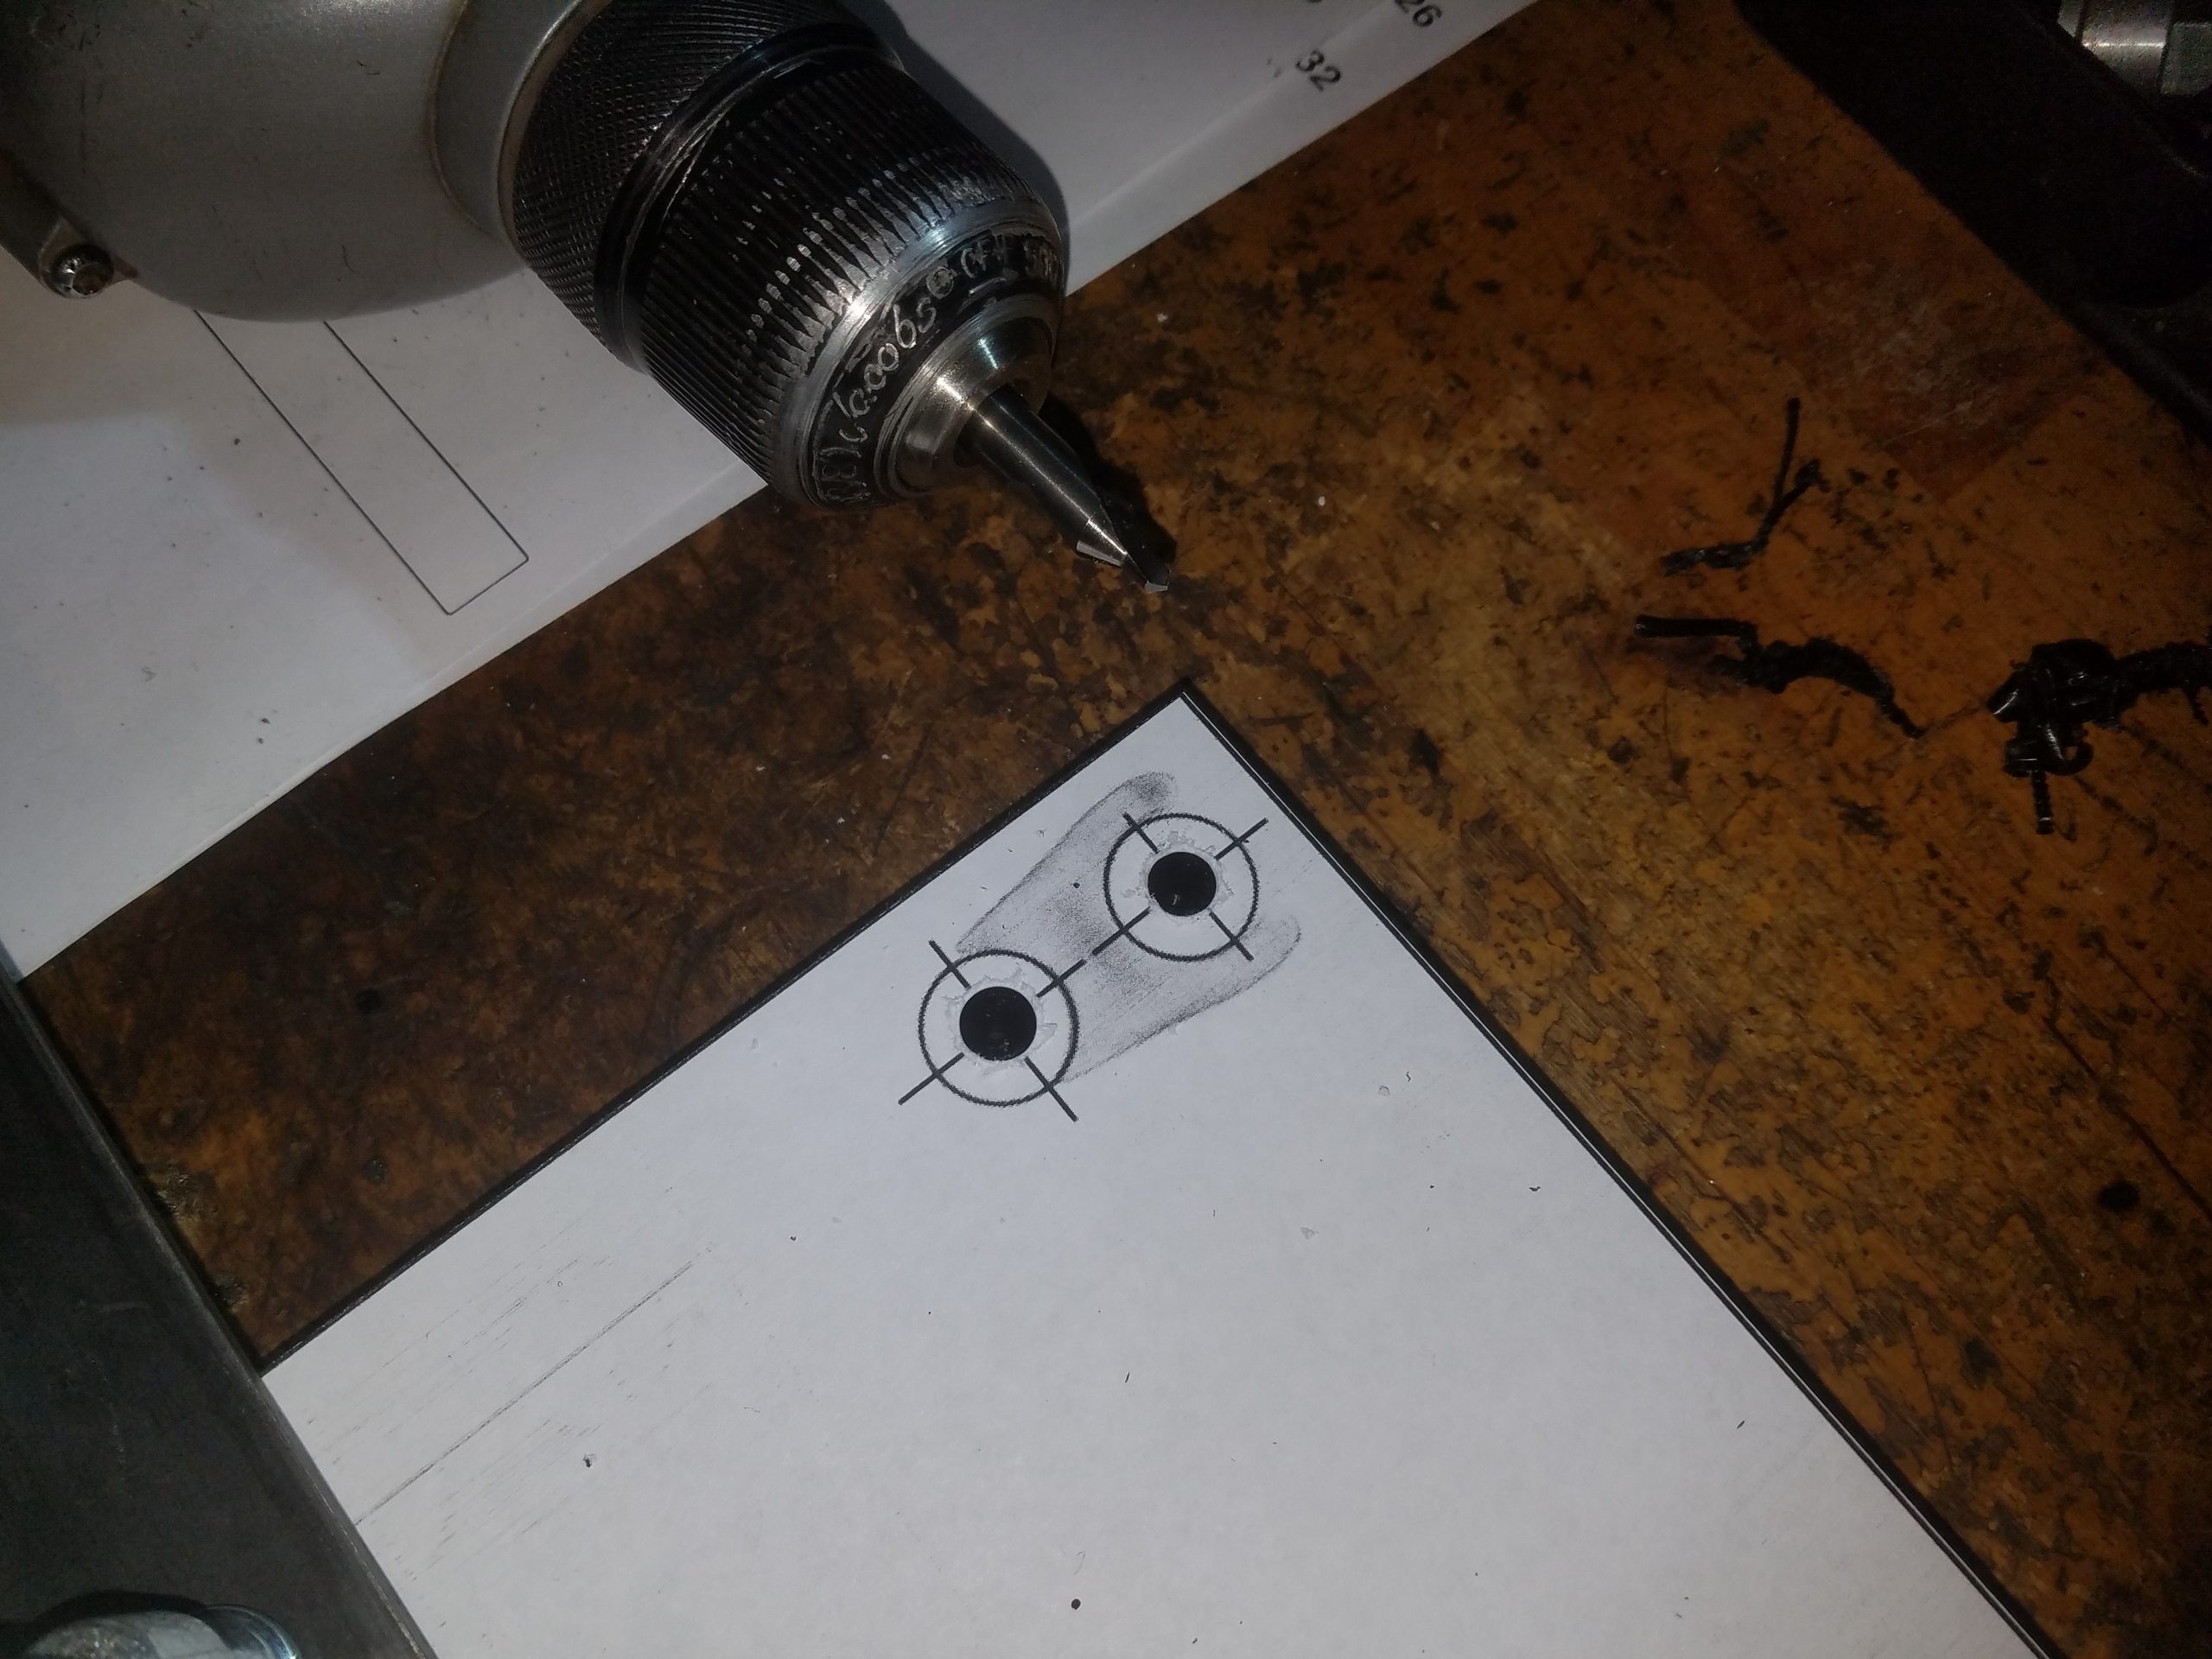
To ensure the clip fit the tubes, I drilled two 5/8″ holes where they needed to be. The process was: center punch, counter sink, drill with a 5/8″ Forstner bit until it spins with no chips, counter sink, drill, etc. The Forstner bit had to be hand sharpened with a file to get it in shape to cut plastic. I could have sprung for some brad point drill bits, but I think this is my first and last hand drilled plastic project.
To cut the piece free from the plastic block, I found a good old hacksaw with a 32 TPI blade worked well. Once the piece was free, a utility knife to remove plastic fuzz and carve the edges did the trick.
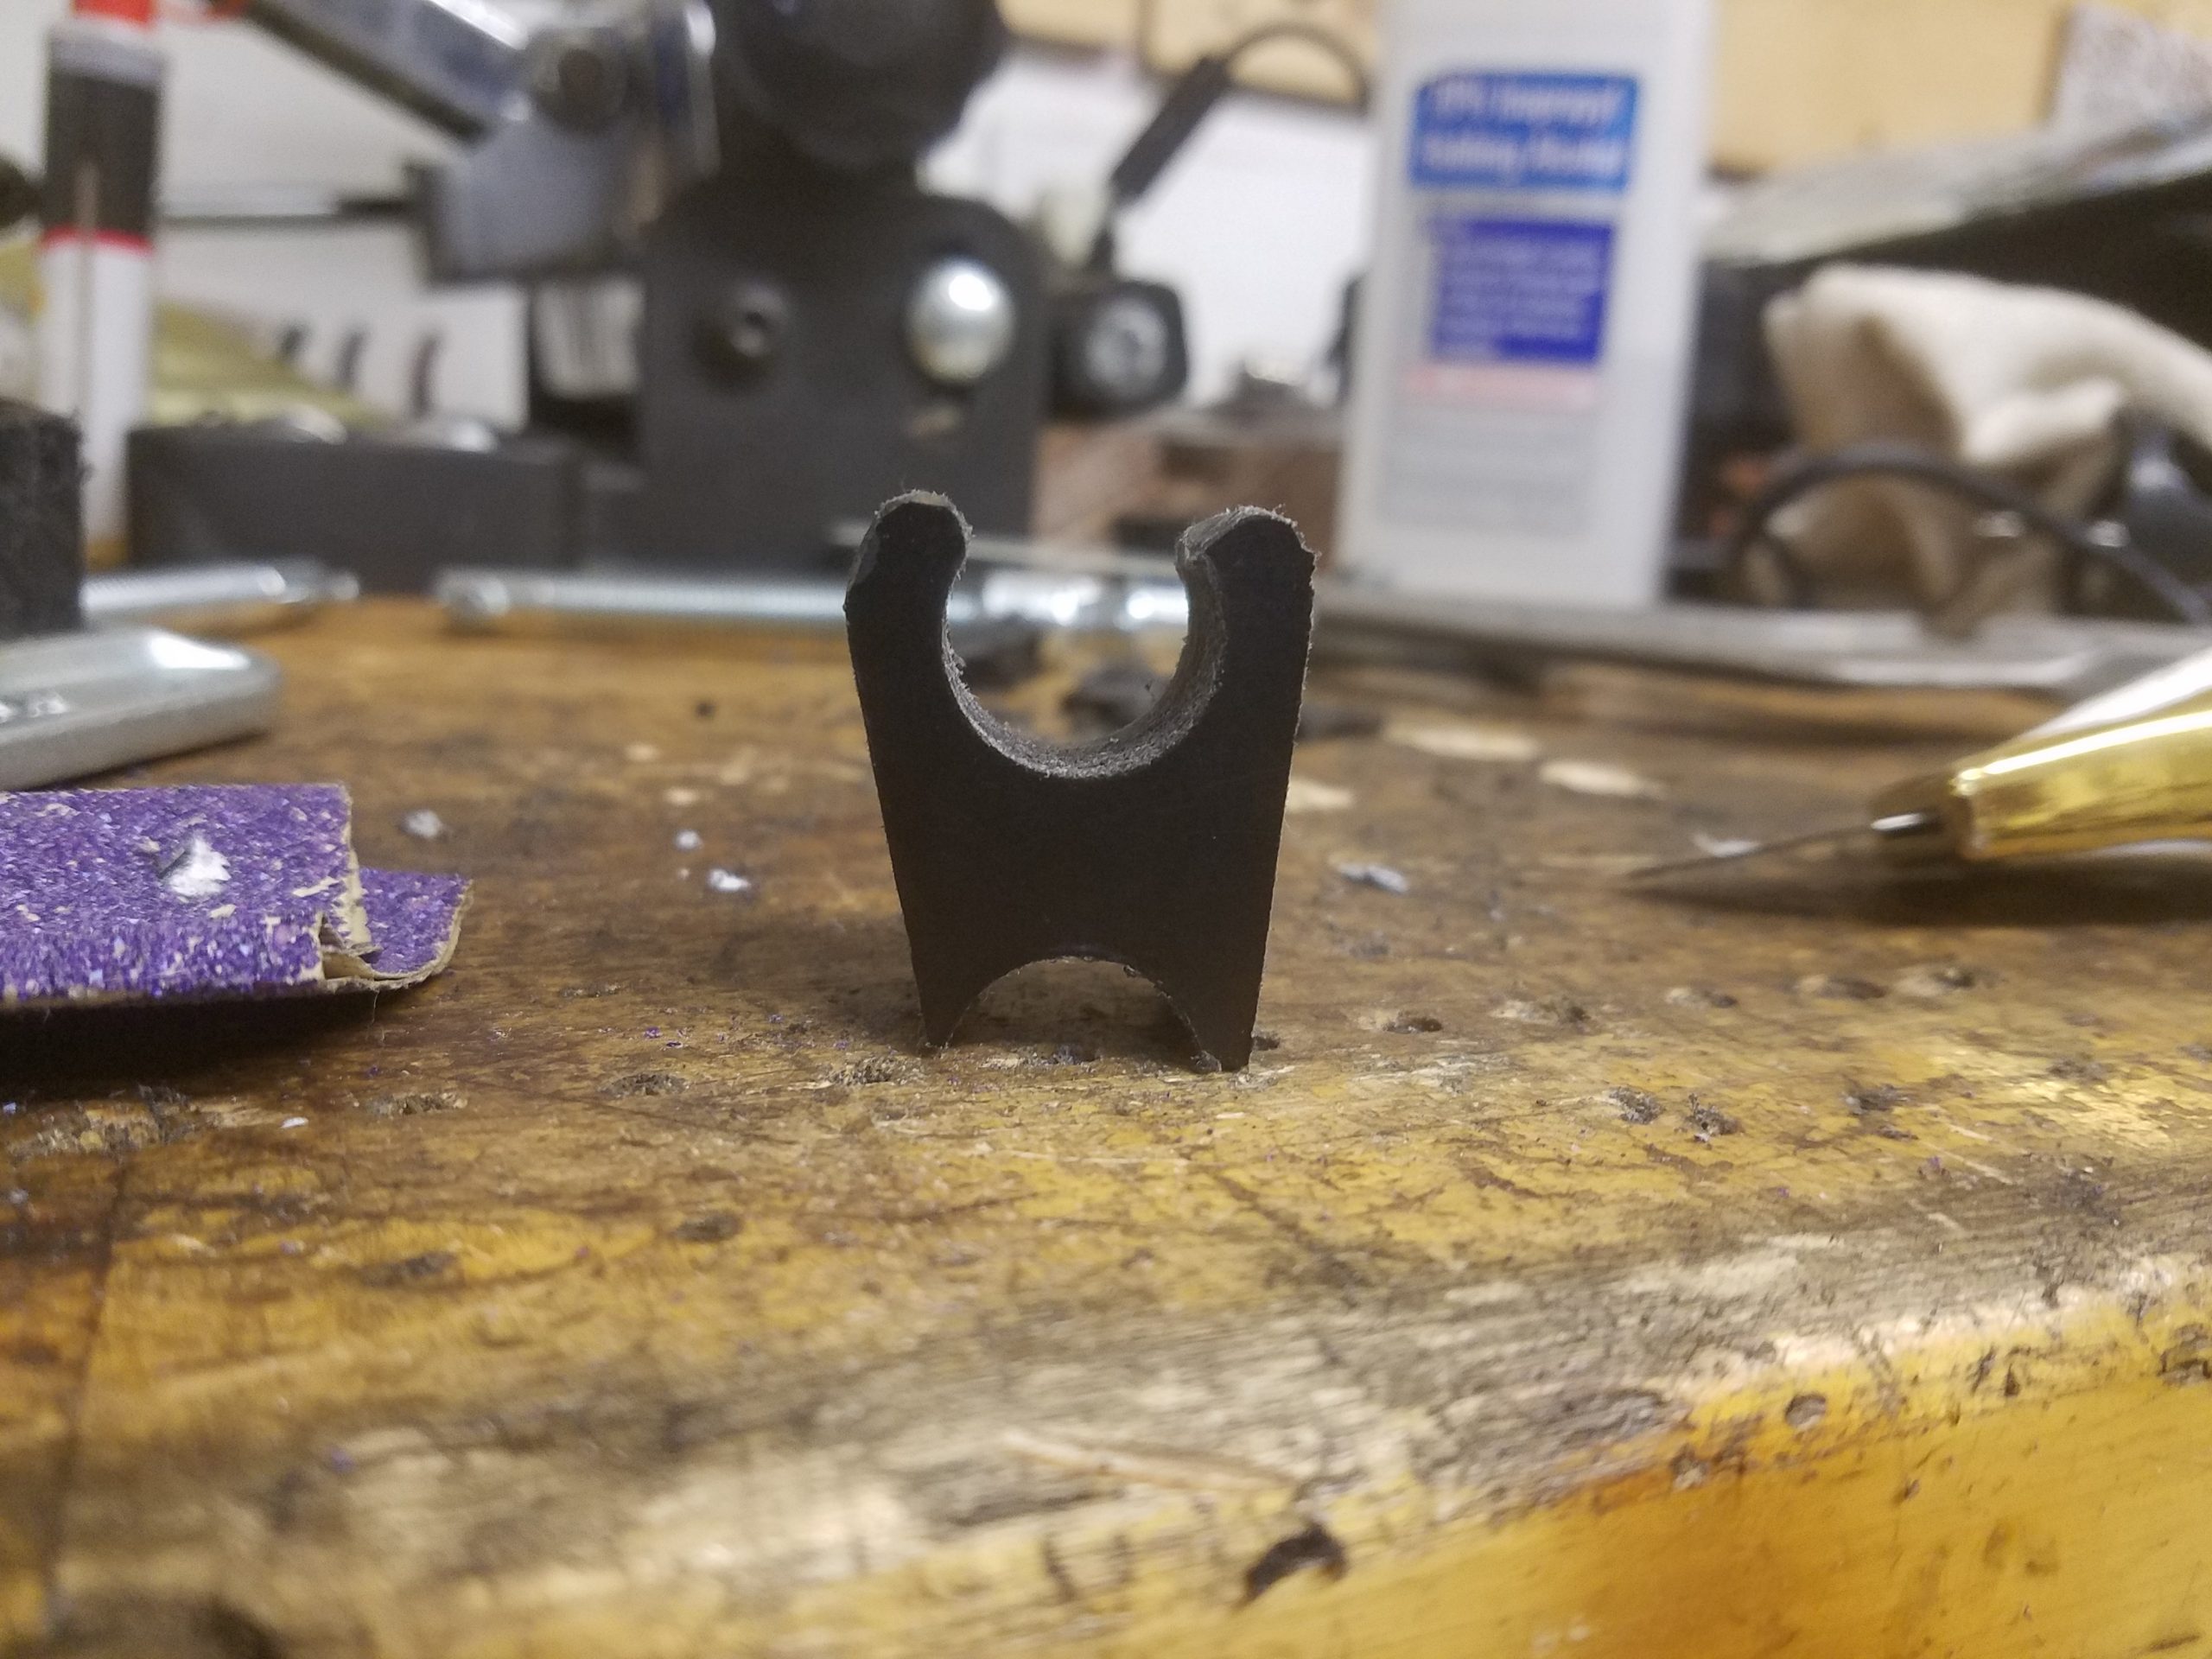
This homely little plastic clip is almost done.
There is a pop rivet that is supposed to fix the clip in place – a 3/16″ hole is pre-drilled on the kickstand from the factory for just this purpose. First, the 3/16″ hole got drilled in my clip, then a 1/4″ Forstner bit was used to create a countersink for the aluminum pop rivet (3/16″ shaft and a .500 to .625 clamping range). It was not easy to fit the head of my pop rivet tool between the jaw of the clip. I ended up having to snip the remains of the mandrel off the rivet and hand file the nub down with a small round file.
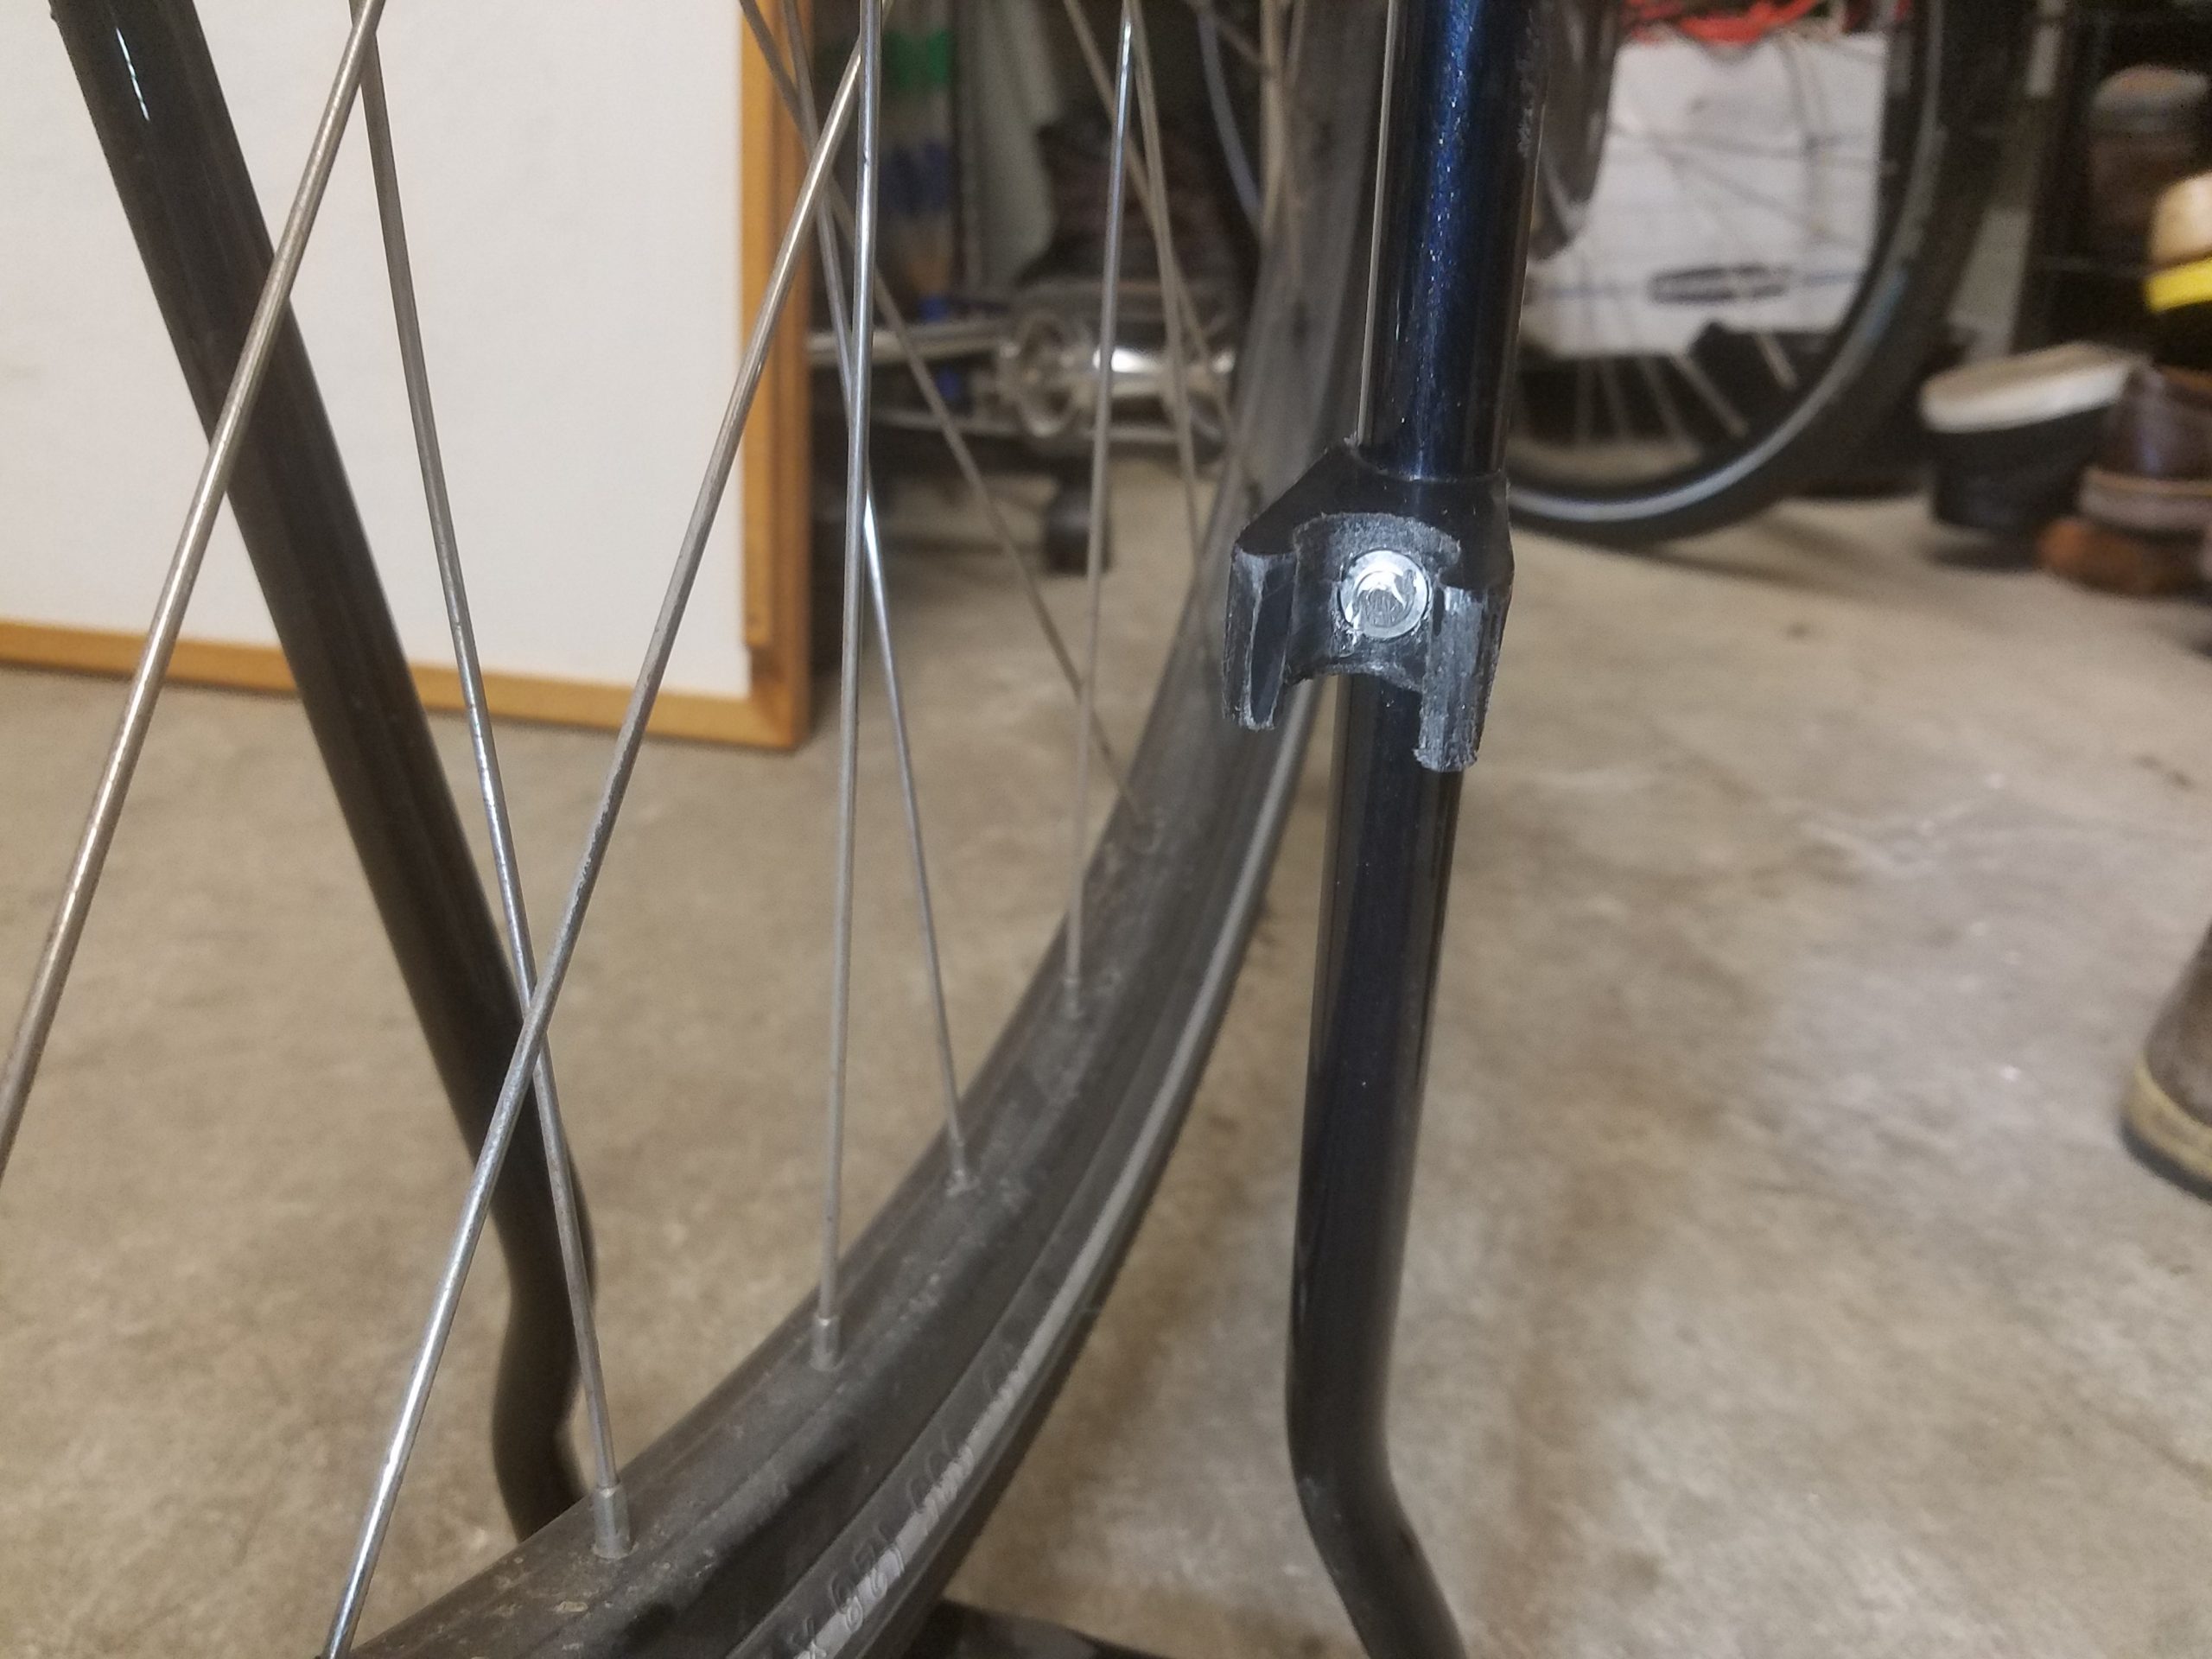
Here it is, all riveted in to place in the parked position.
Here is the kickstand clip in its upright position. Look at that surface finish! Gorgeous.
The clip I made looks like garbage, but it works really well. Any self-respecting bike thief would be turned away after having seen it. That is two wins for the price of one.
To add another win to my ledger I snapped the kickstand up into place and rode around the driveway. I rode down the block. I rode over some bumps. I rode over them some more. No sparks. No screeching. Haha!
I had done it. Oh, not the kickstand. Whatever. The thing works now. Hooray, etc. No, I had fixed *myself* – I had fixed my attitude of helplessness. I had discovered the skills I already had and the materials at hand to do the job, and I had done it. I have will, I have a mind. I have waaaaay too much free time. What would my life, my family’s life, be like if I focused on us the way I focused on this damn bike and its kickstand? It would be nice to pretend that that is exactly what happened. I went for many more bike rides. I continued to solve problems for customers and clients. It took a while to get around to focusing on my family, on my own situation at home.
I barely ride the Pashley anymore. Was the cost and the effort to fix its kickstand worth it? I’ll let you be the judge of that, I have more work to do.