My toaster oven broke. First, a buzzing noise. Next, some smoke. Out to the curb it went in the arms of my wife.
I saw it sitting there and thought, “It is already broken, if I take it apart – where is the harm in that?”
I take it down to my workshop. Zip, zip zip – phillips head sheet metal screws come out easy.
Dang, a problem: triangle head screws.
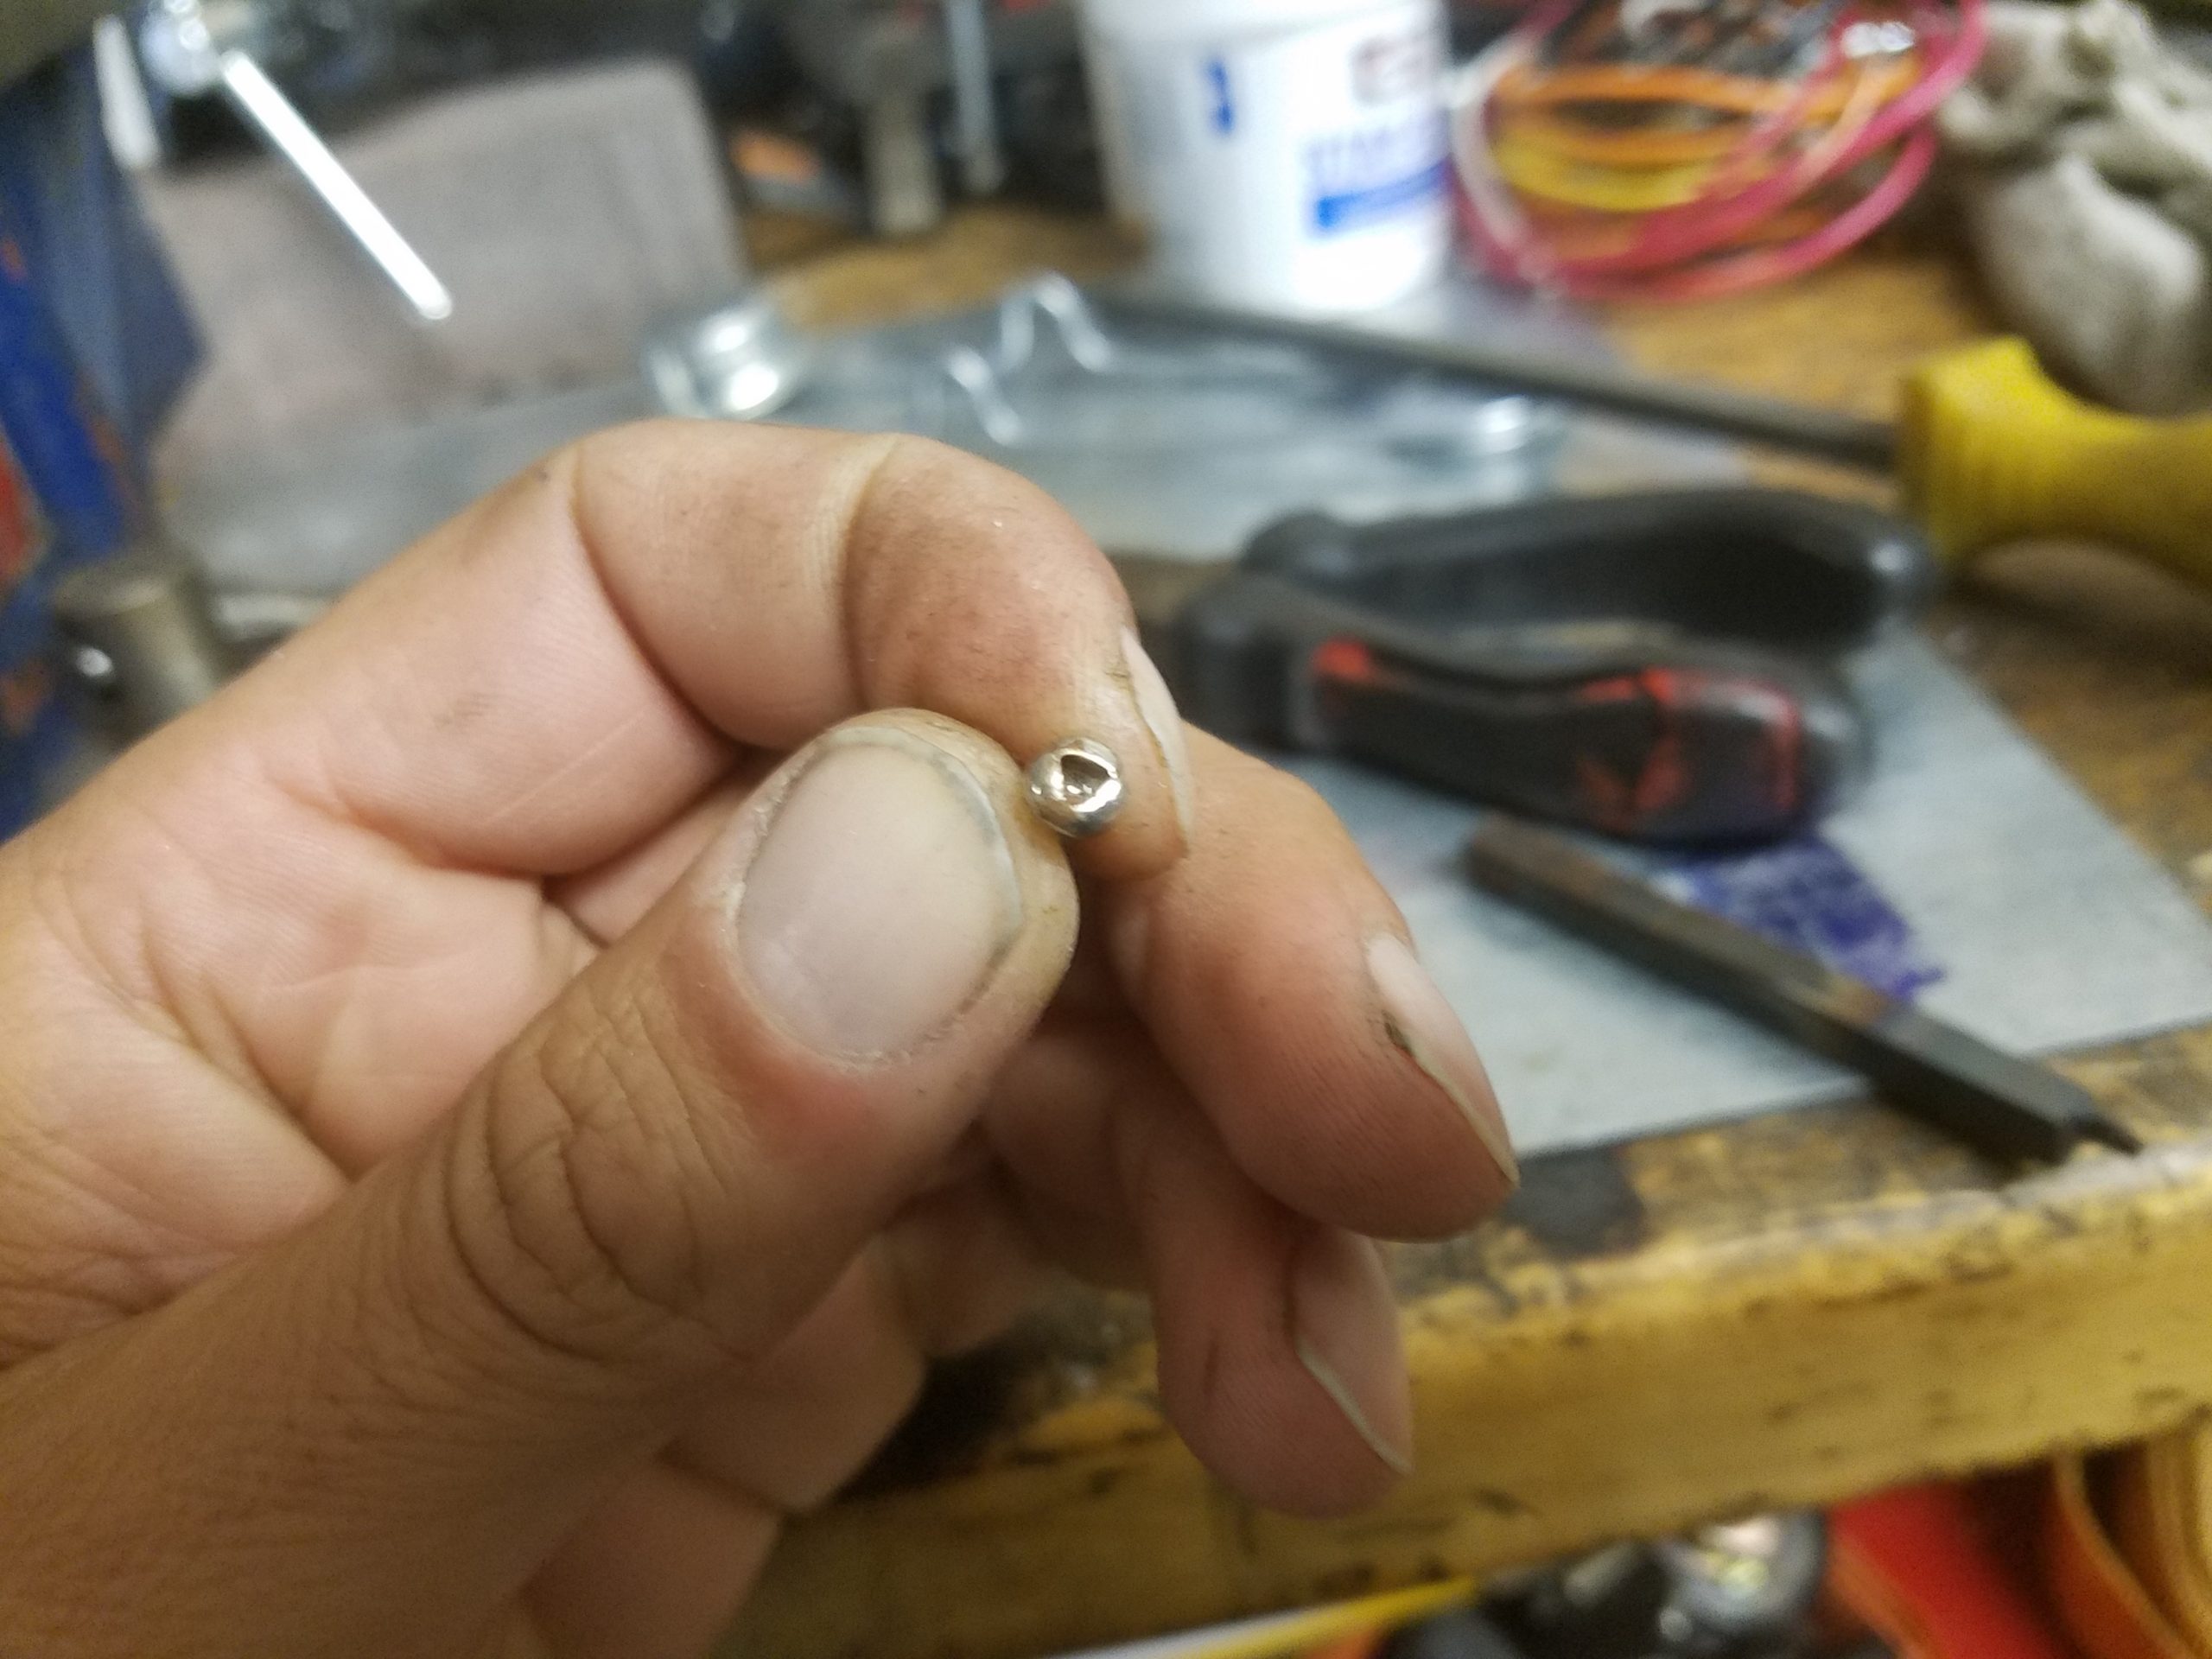
I try all the bits in my inventory. No luck. I look online: wait a week and pay $20 just to open a broken toaster oven?! Heck no.
I look around the shop. I see some 1/4″ square steel rod.
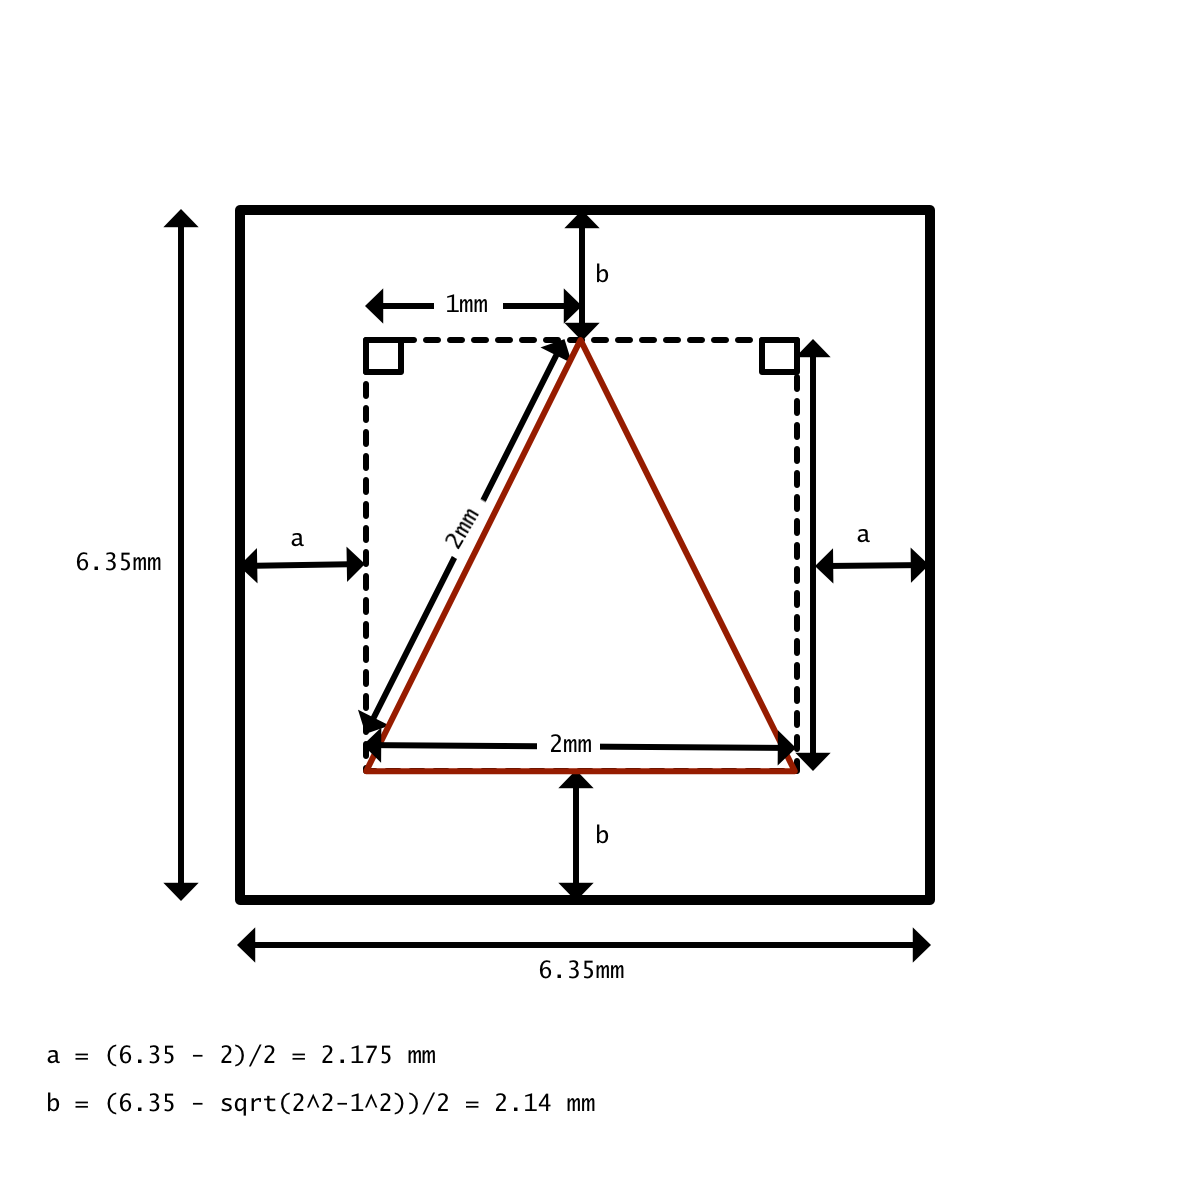
I cut a small section of rod with a 24 thread per inch hacksaw blade. I square up one end with a bastard cut and then a second cut flat file. I apply some Dykem Blue layout fluid to the 6.35mm x 6.35mm square area (1/4″ x 1/4″). I use some accurate Vernier calipers to measure the triangle hole in the screws – about 2mm on each side.
I do some math – I need to scribe a square that is about 2.1mm away from the edges of the rod. Then, I need to scribe a triangle inside that square. I use my little combination square and its scribe to do this.
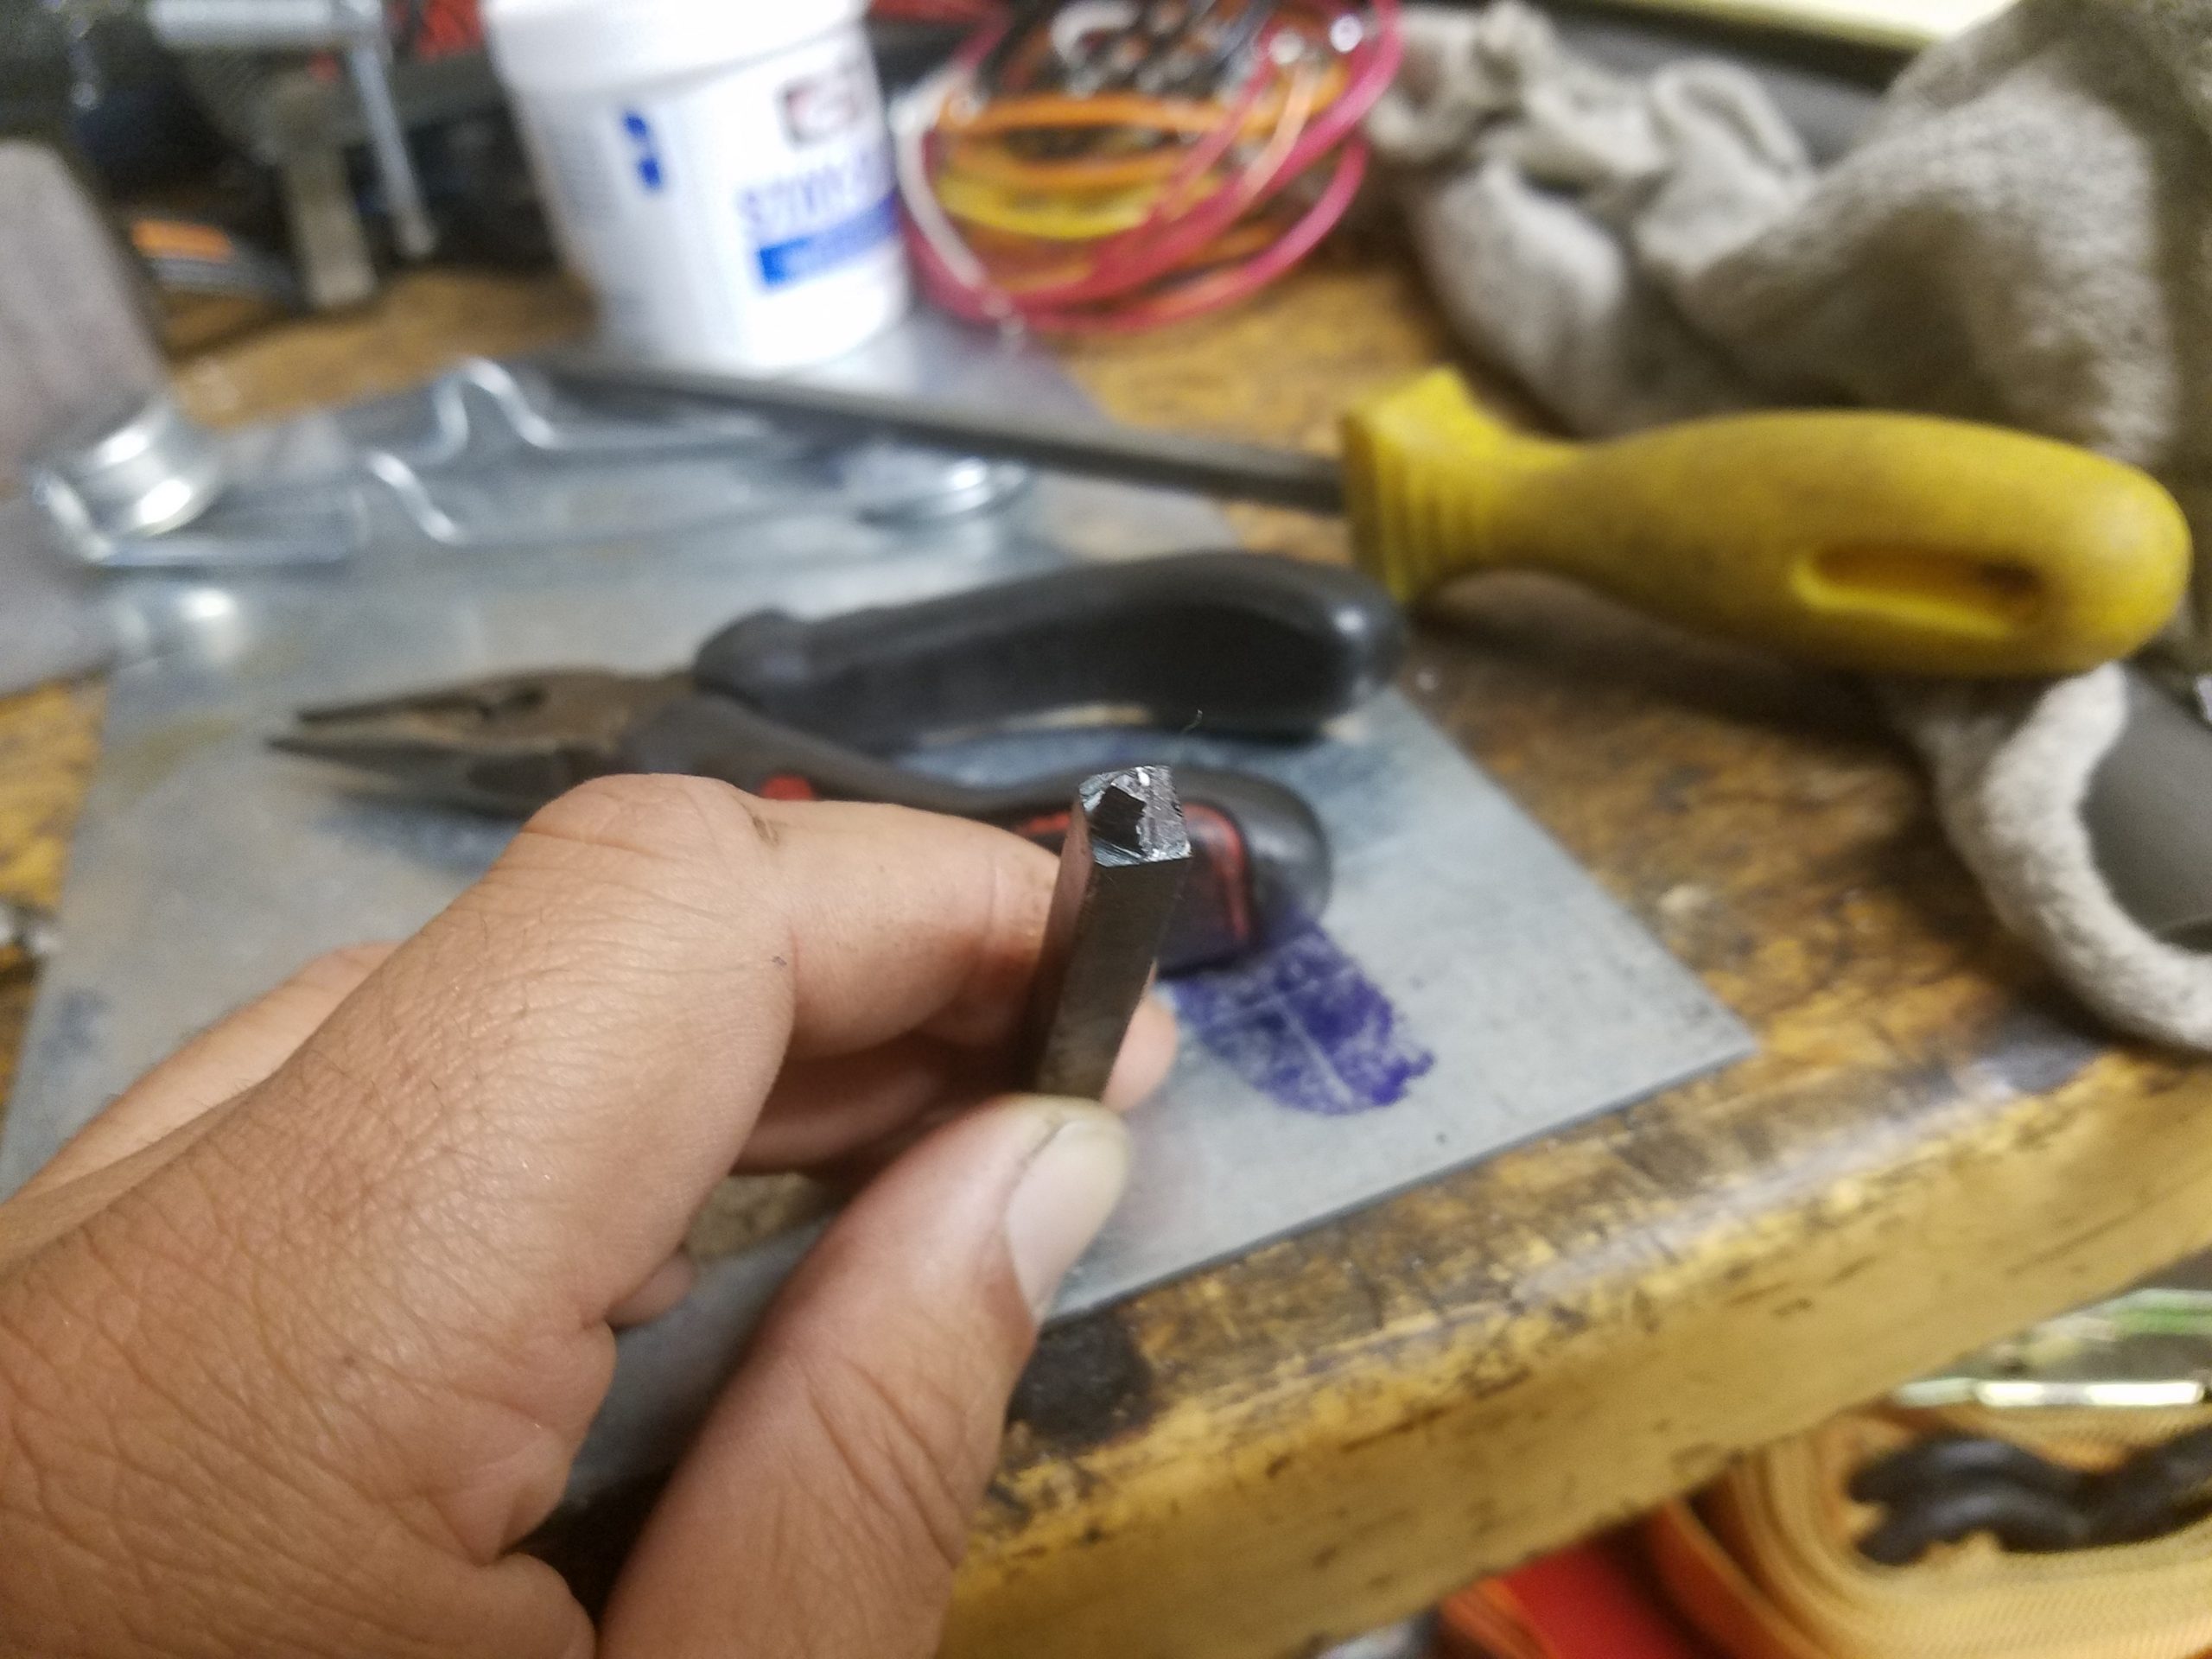
Next, I use a Dremel with a cut-off wheel to slice along the outside edge of that scribed triangle. Things go badly, but I still manage to get an approximate 2mm triangle cut.
I spend some more time removing about 1/2″ of material to expose this triangular bit. I file down the side of the triangular bit with a square 2nd cut file.
I try the bit out on a stuck screw. The head of the bit shears off.
Great.
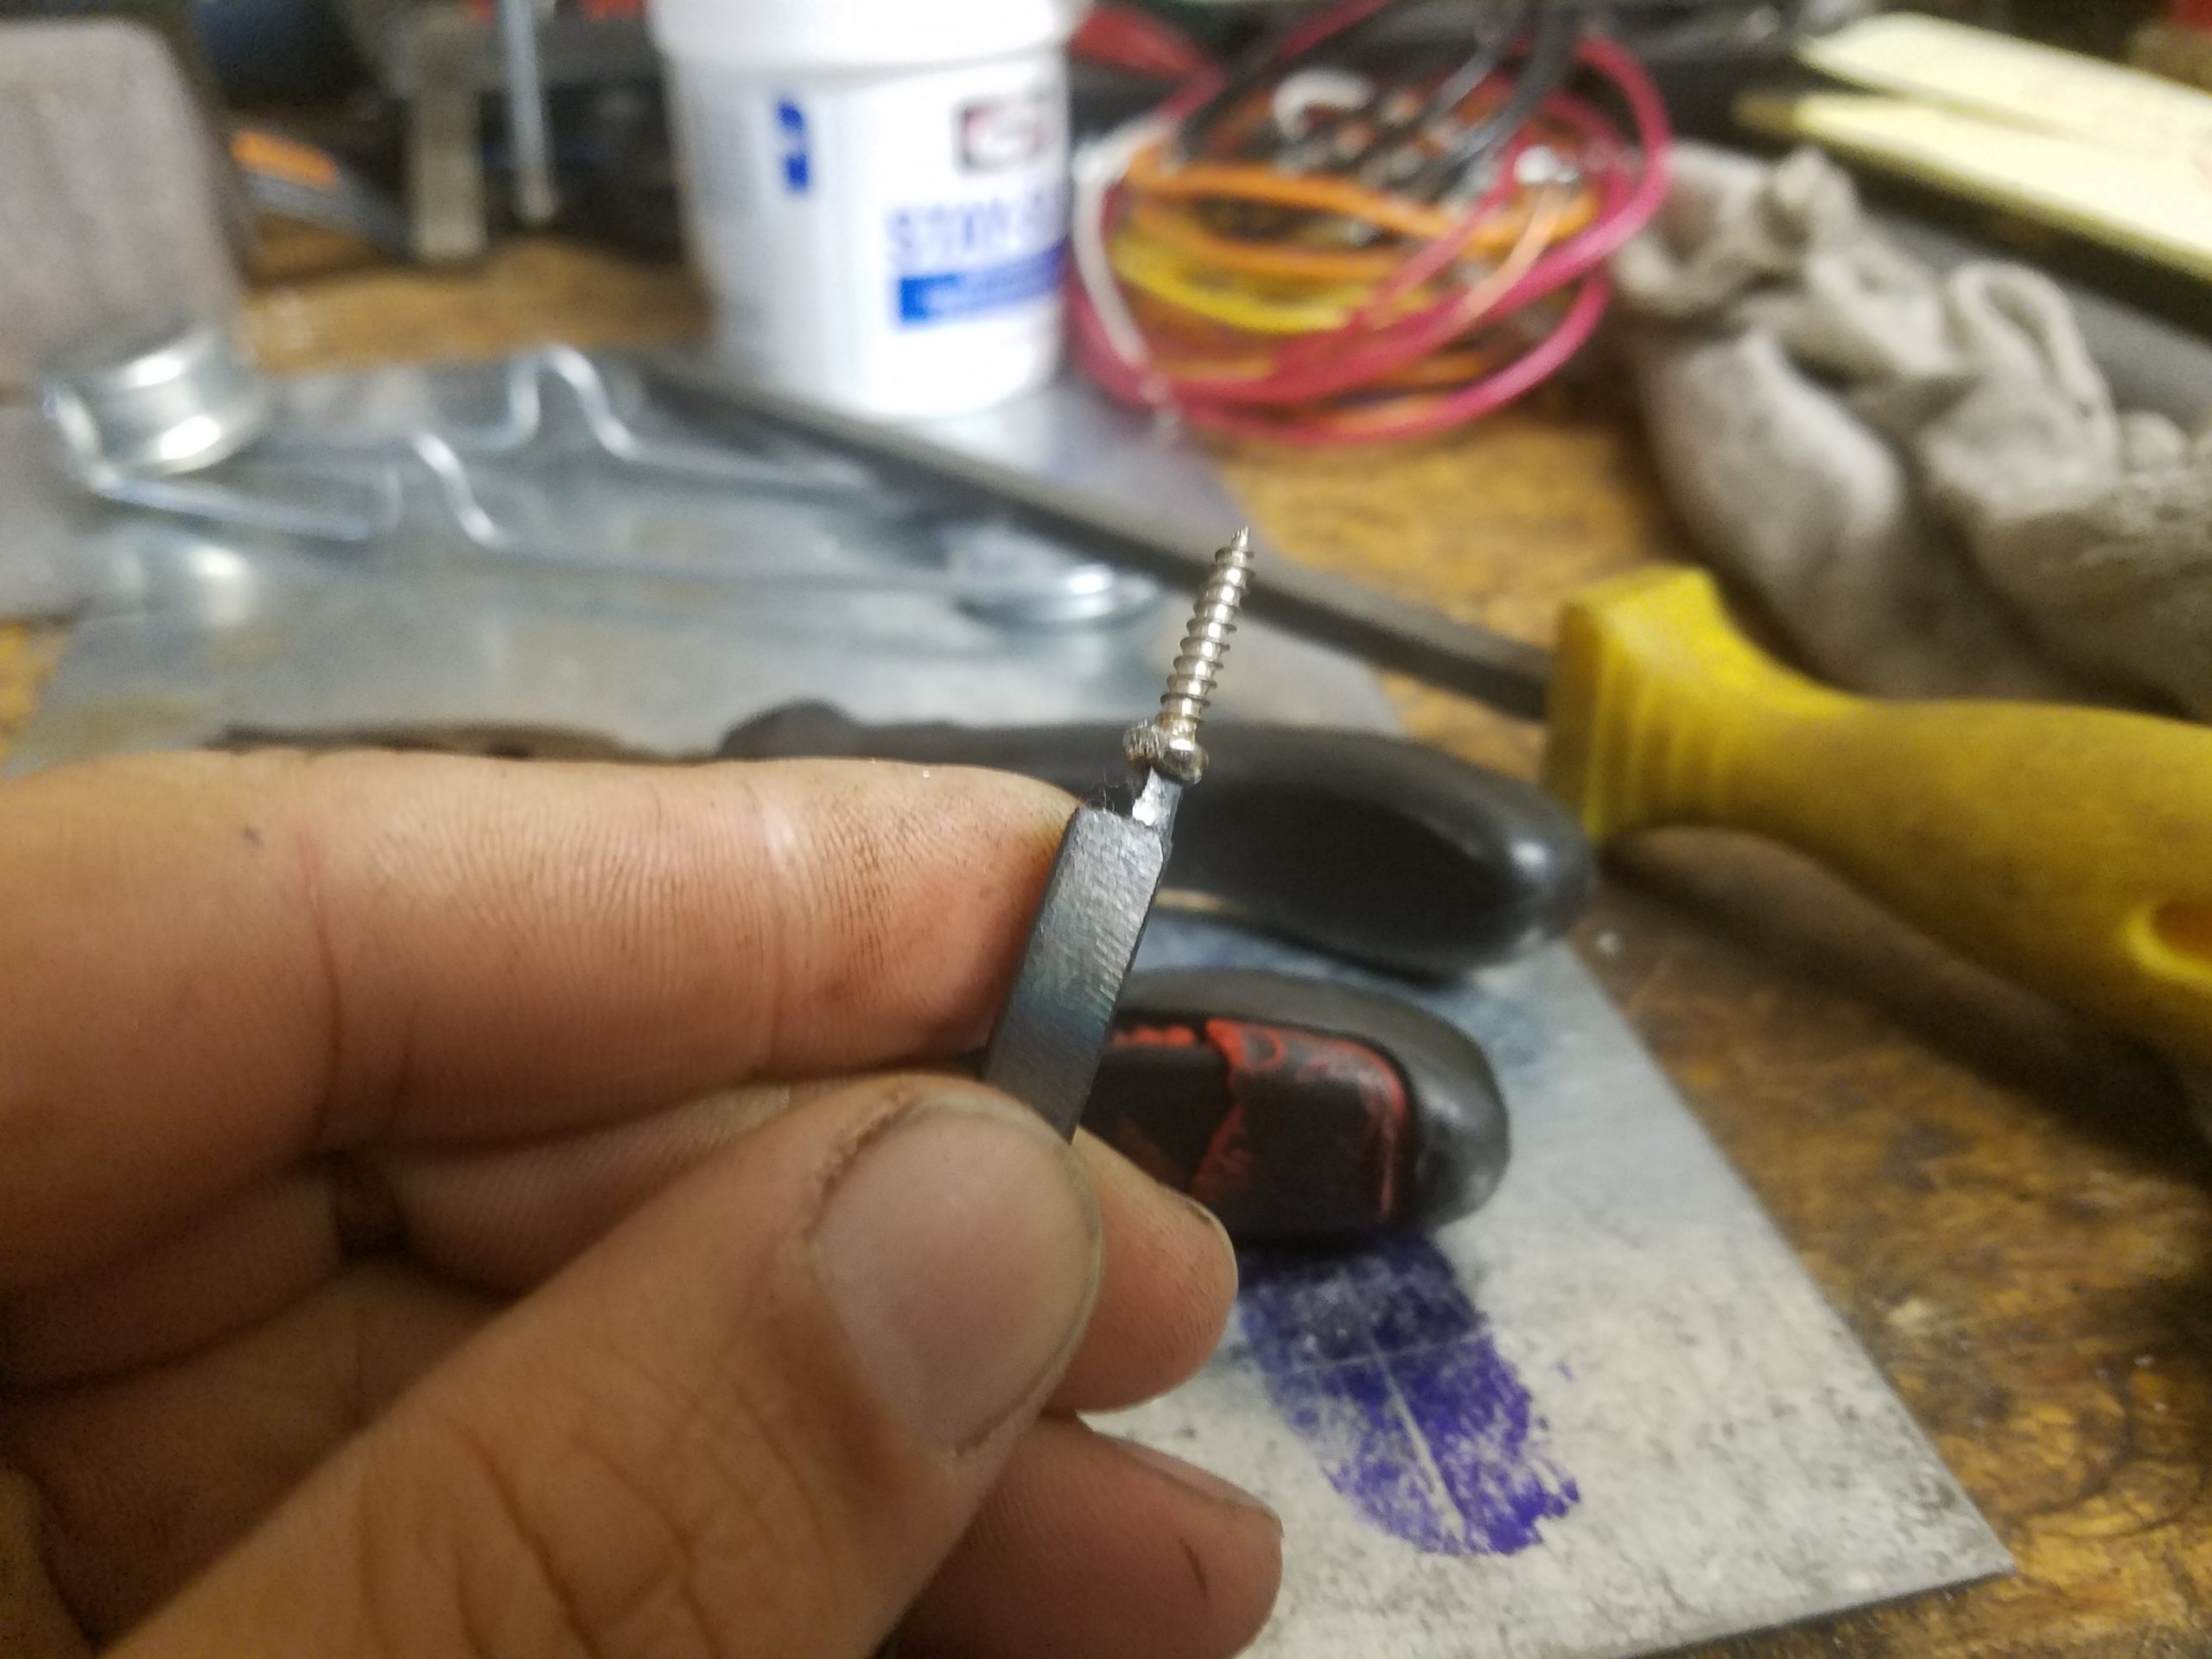
I use a file to cut down more of the rod using what remains of the sheared off triangular bit as a guide.
I hold the rod in my vise and heat the rod up with some MAPP gas until the tip of the bit is glowing red. Then, I stick the glowing red bit in some motor oil to quench it.
Now, the drill bit digs into the screws without shearing and allows me to remove them. I am in!
Once opened, I spot an obvious problem: the back of the temperature control dial has a badly oxidized jack and lead with evidence of melted insulation. This is common. A little too much oxidation builds up and the resistance to electricity flow increases, the part then warms up beyond its listed specifications and something melts – blam, broken device. Same thing happened to my washing machine.
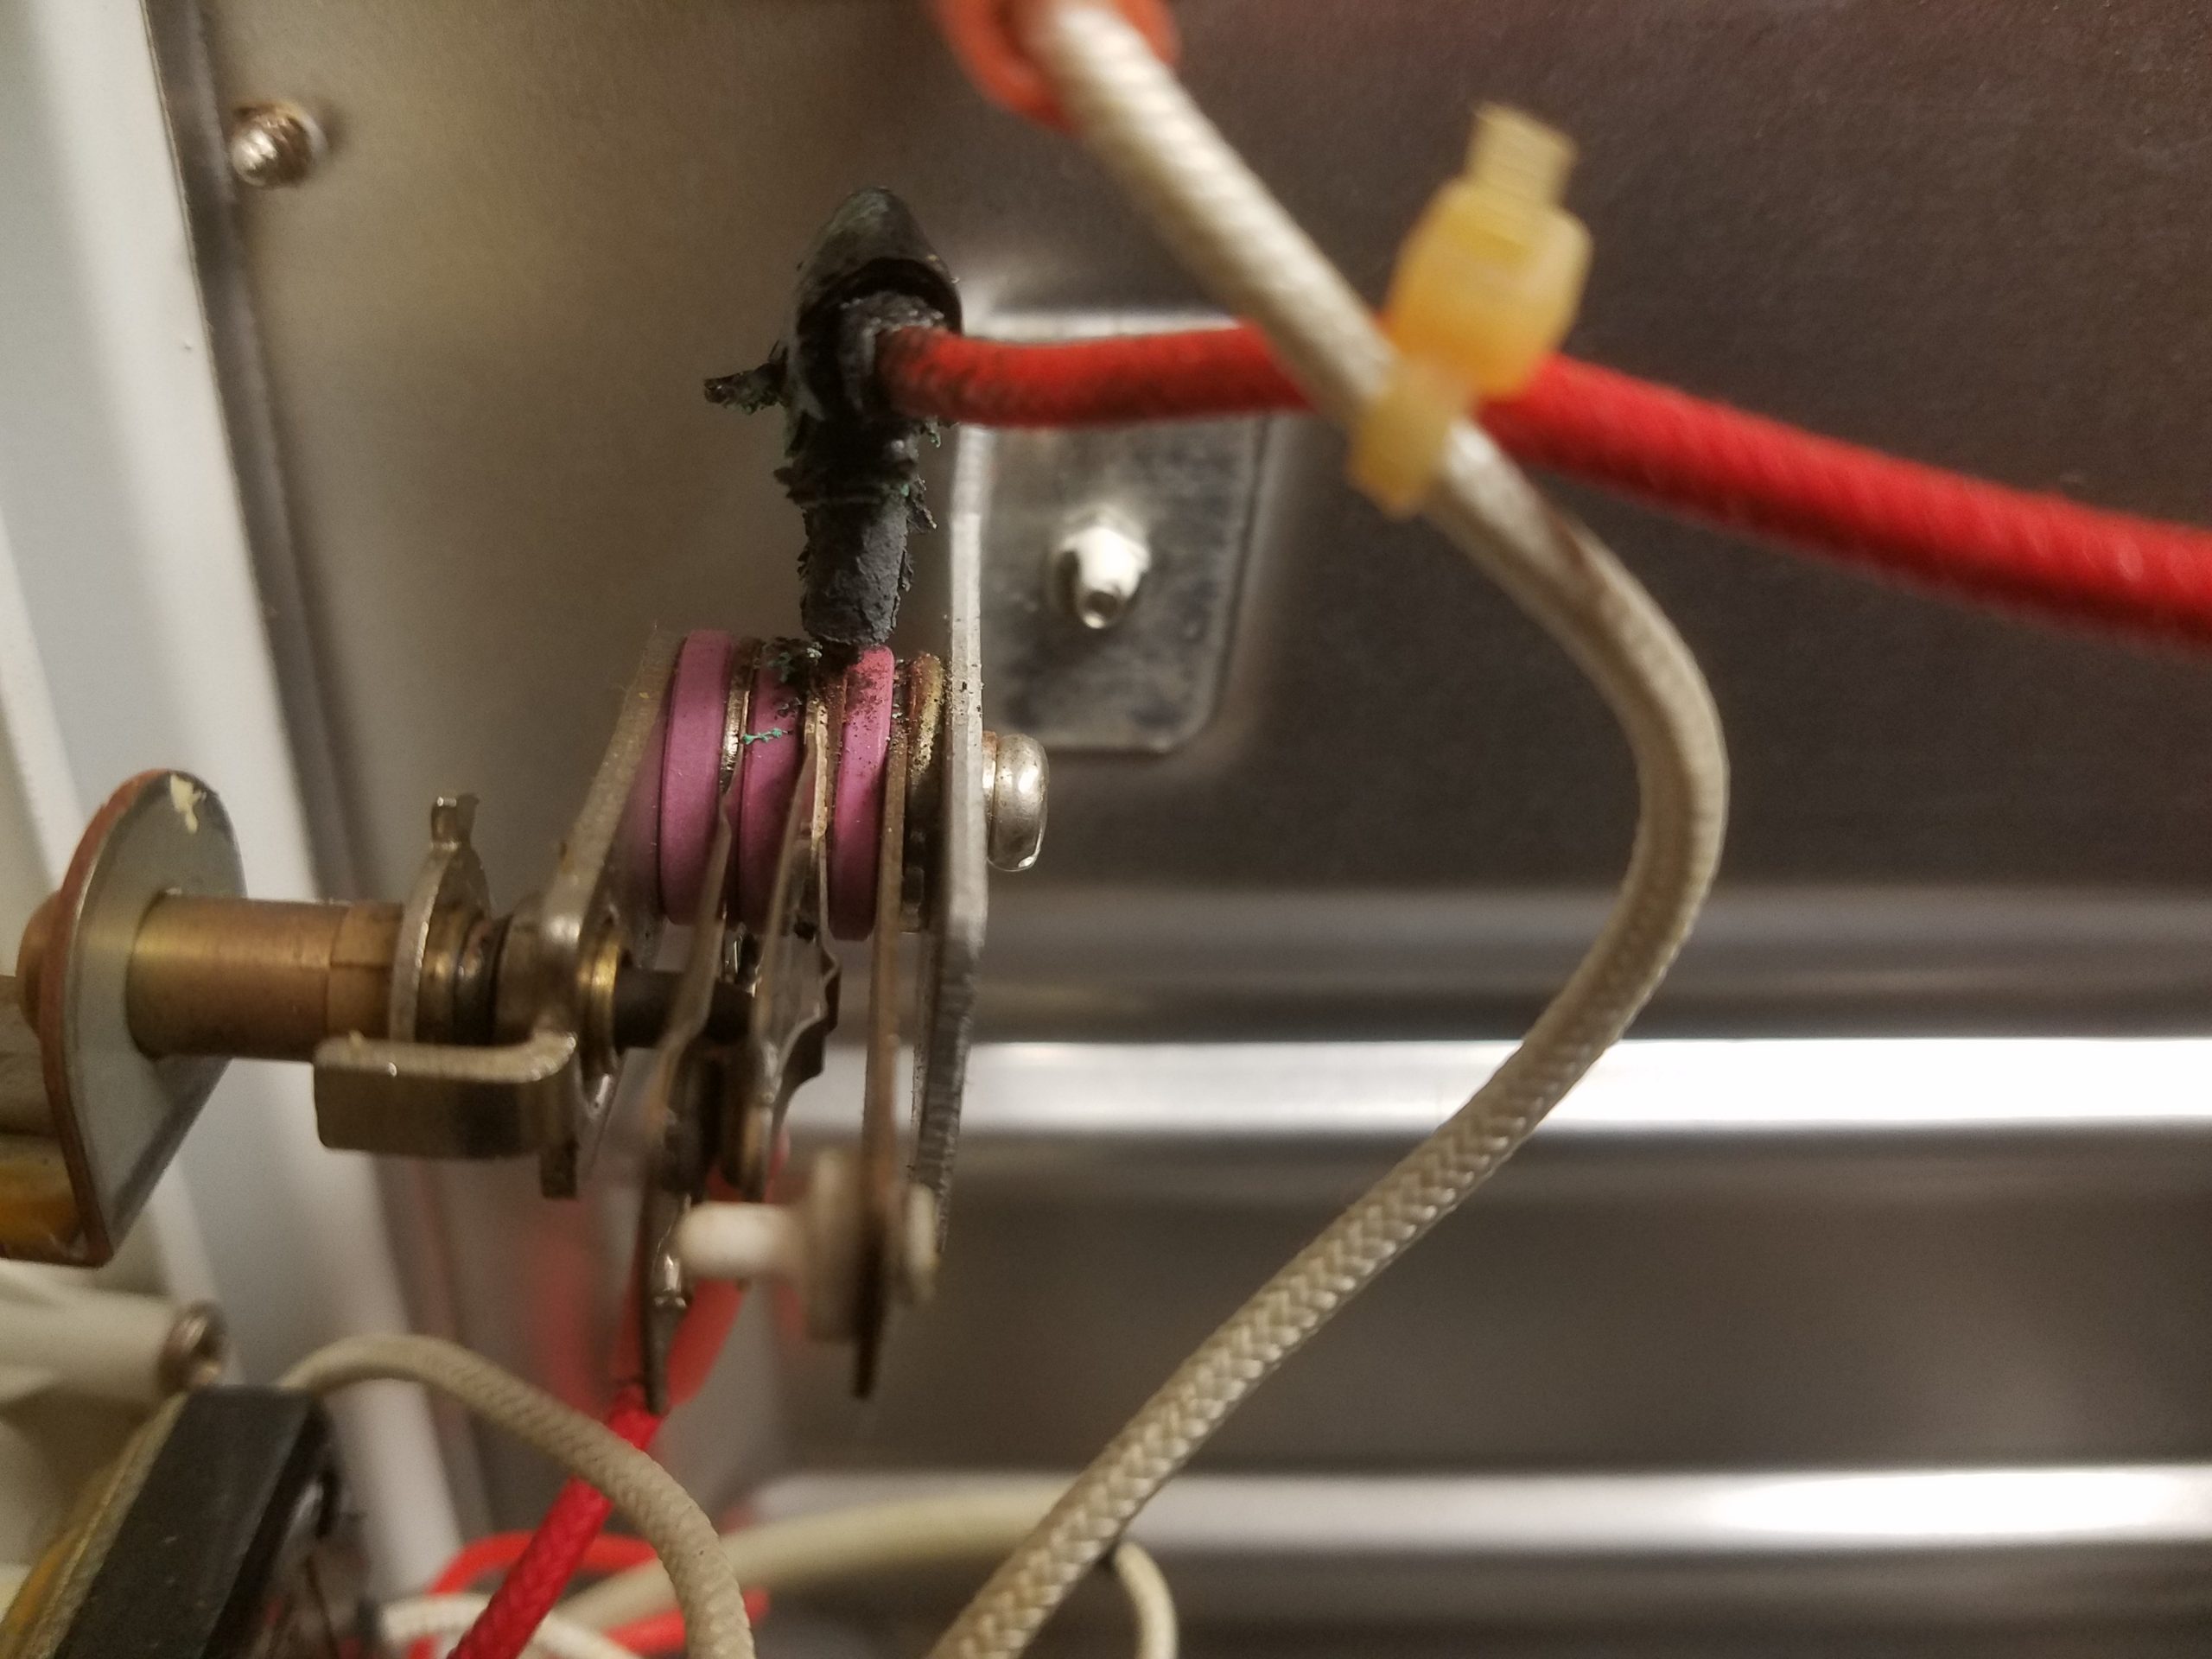
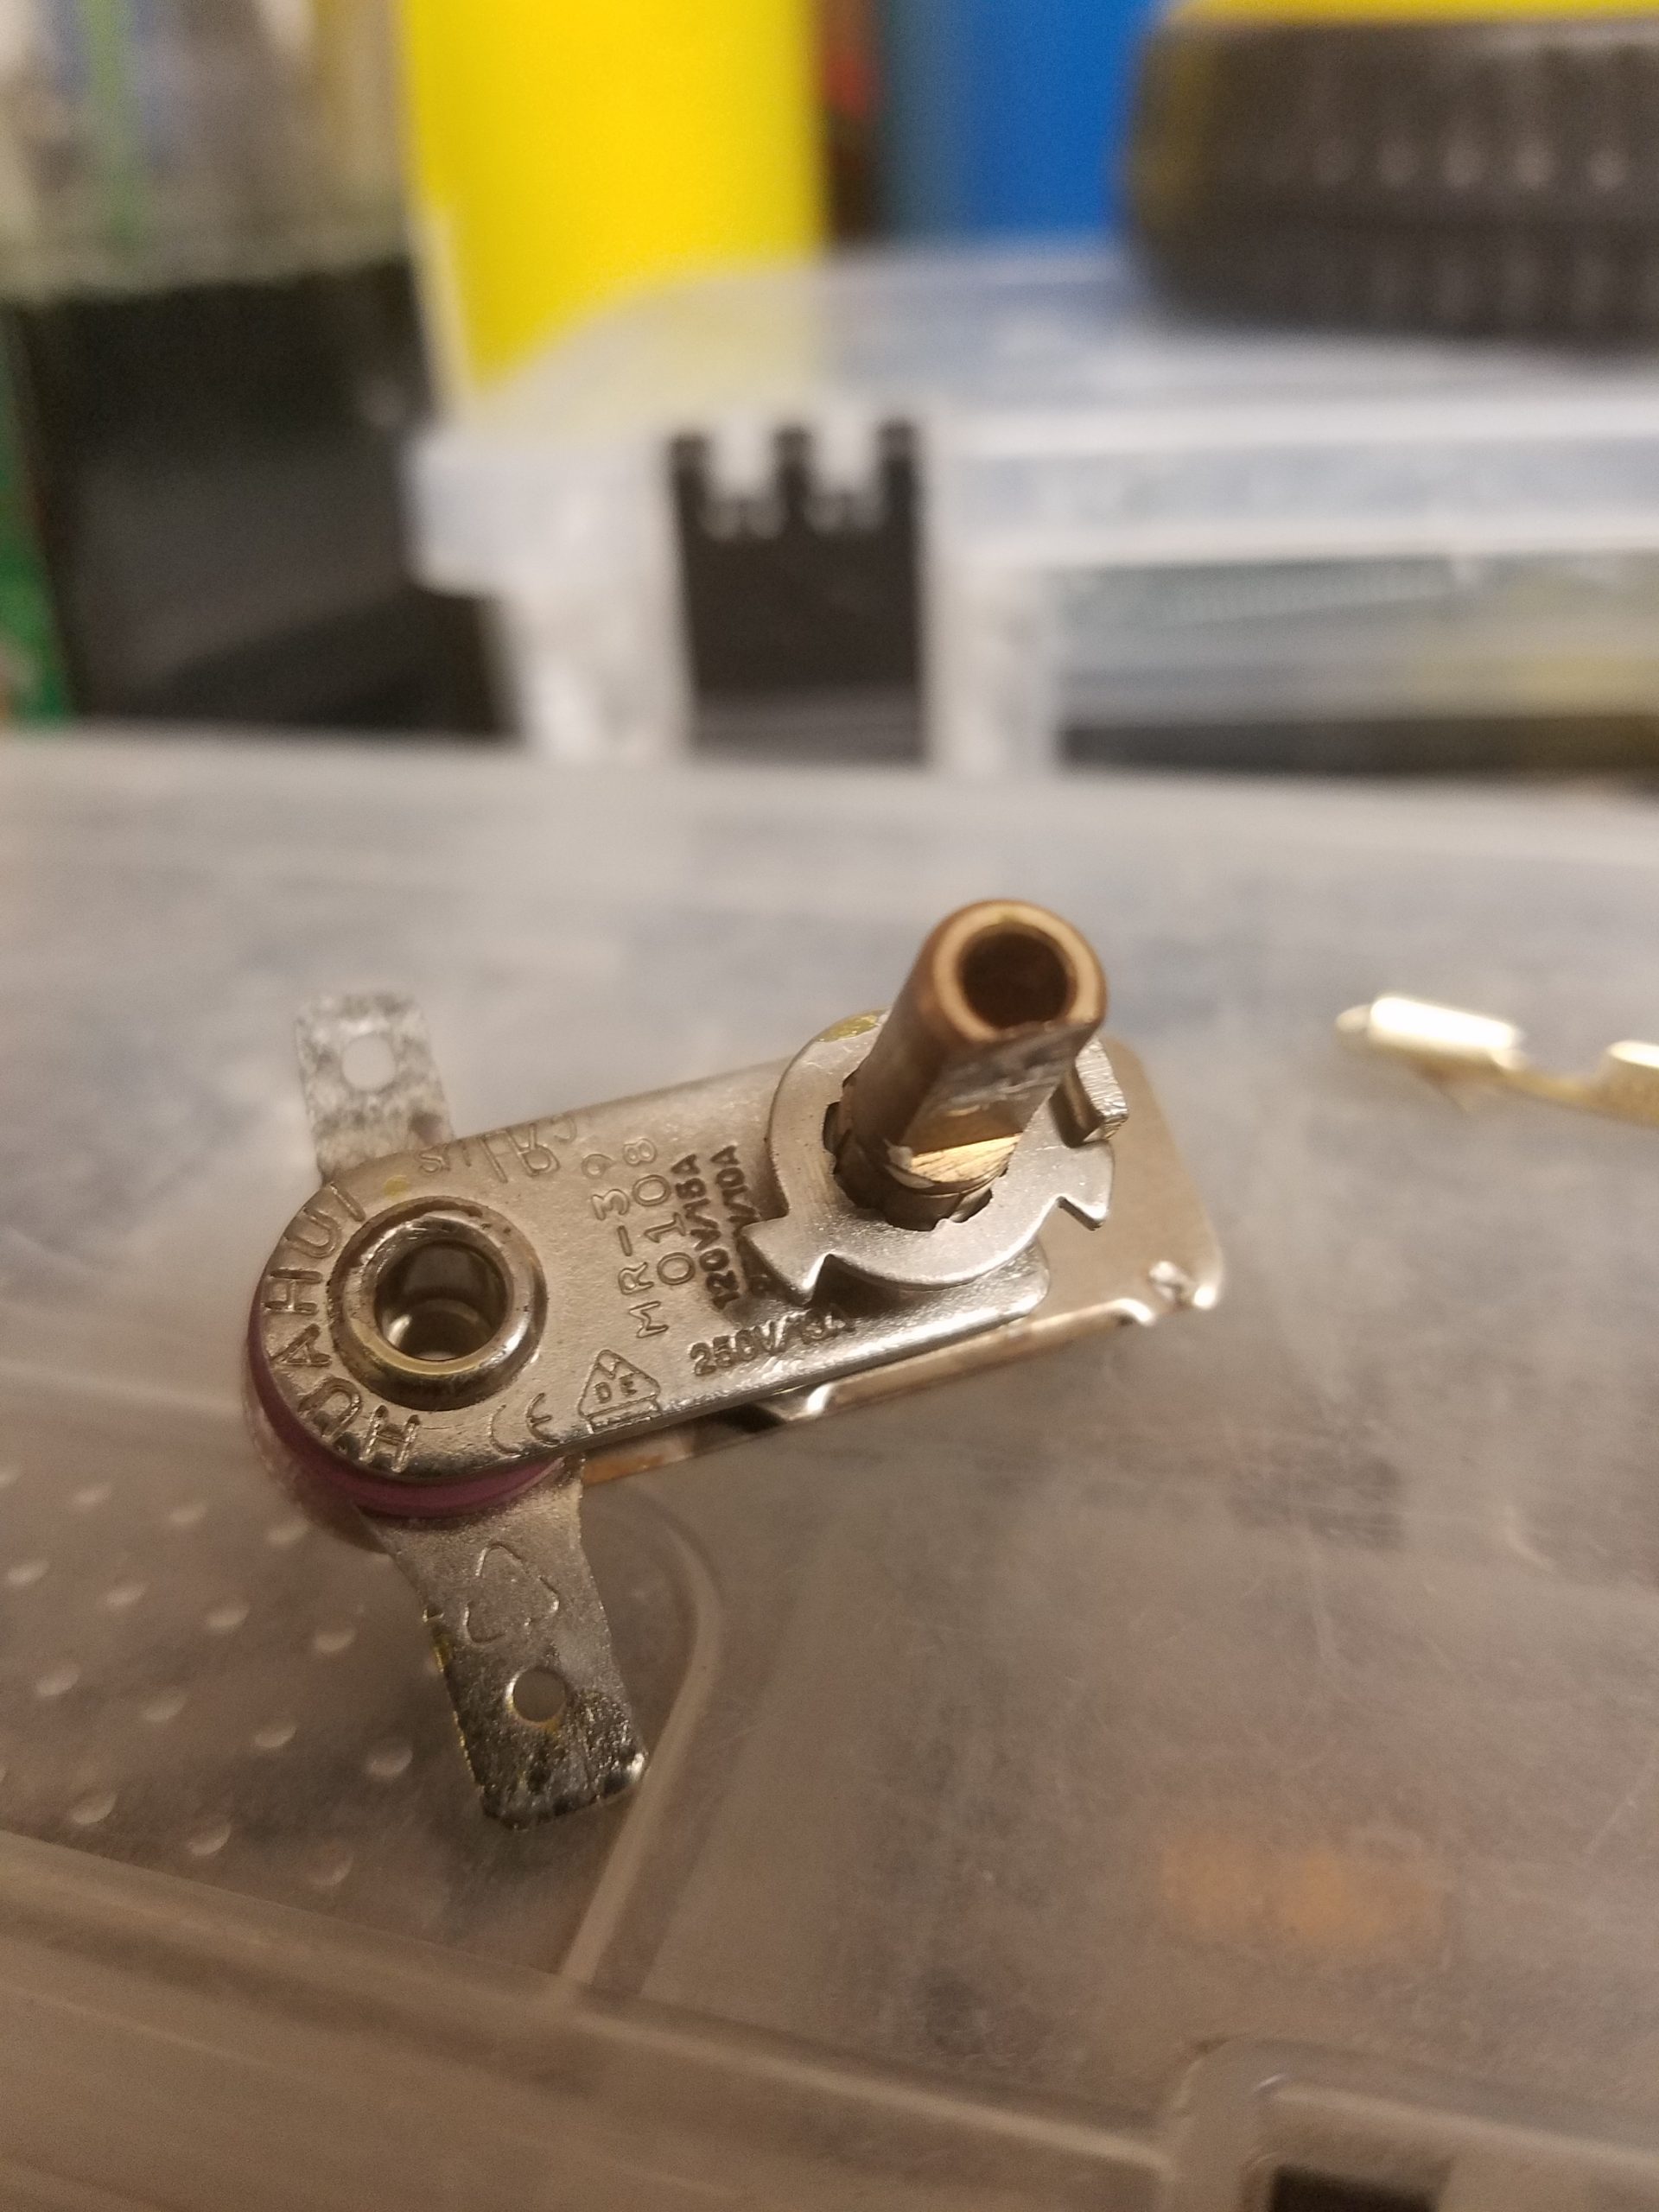
I remove the back of the temperature control dial. I search for the part using all the marks stamped on the part. No luck.
Hm.
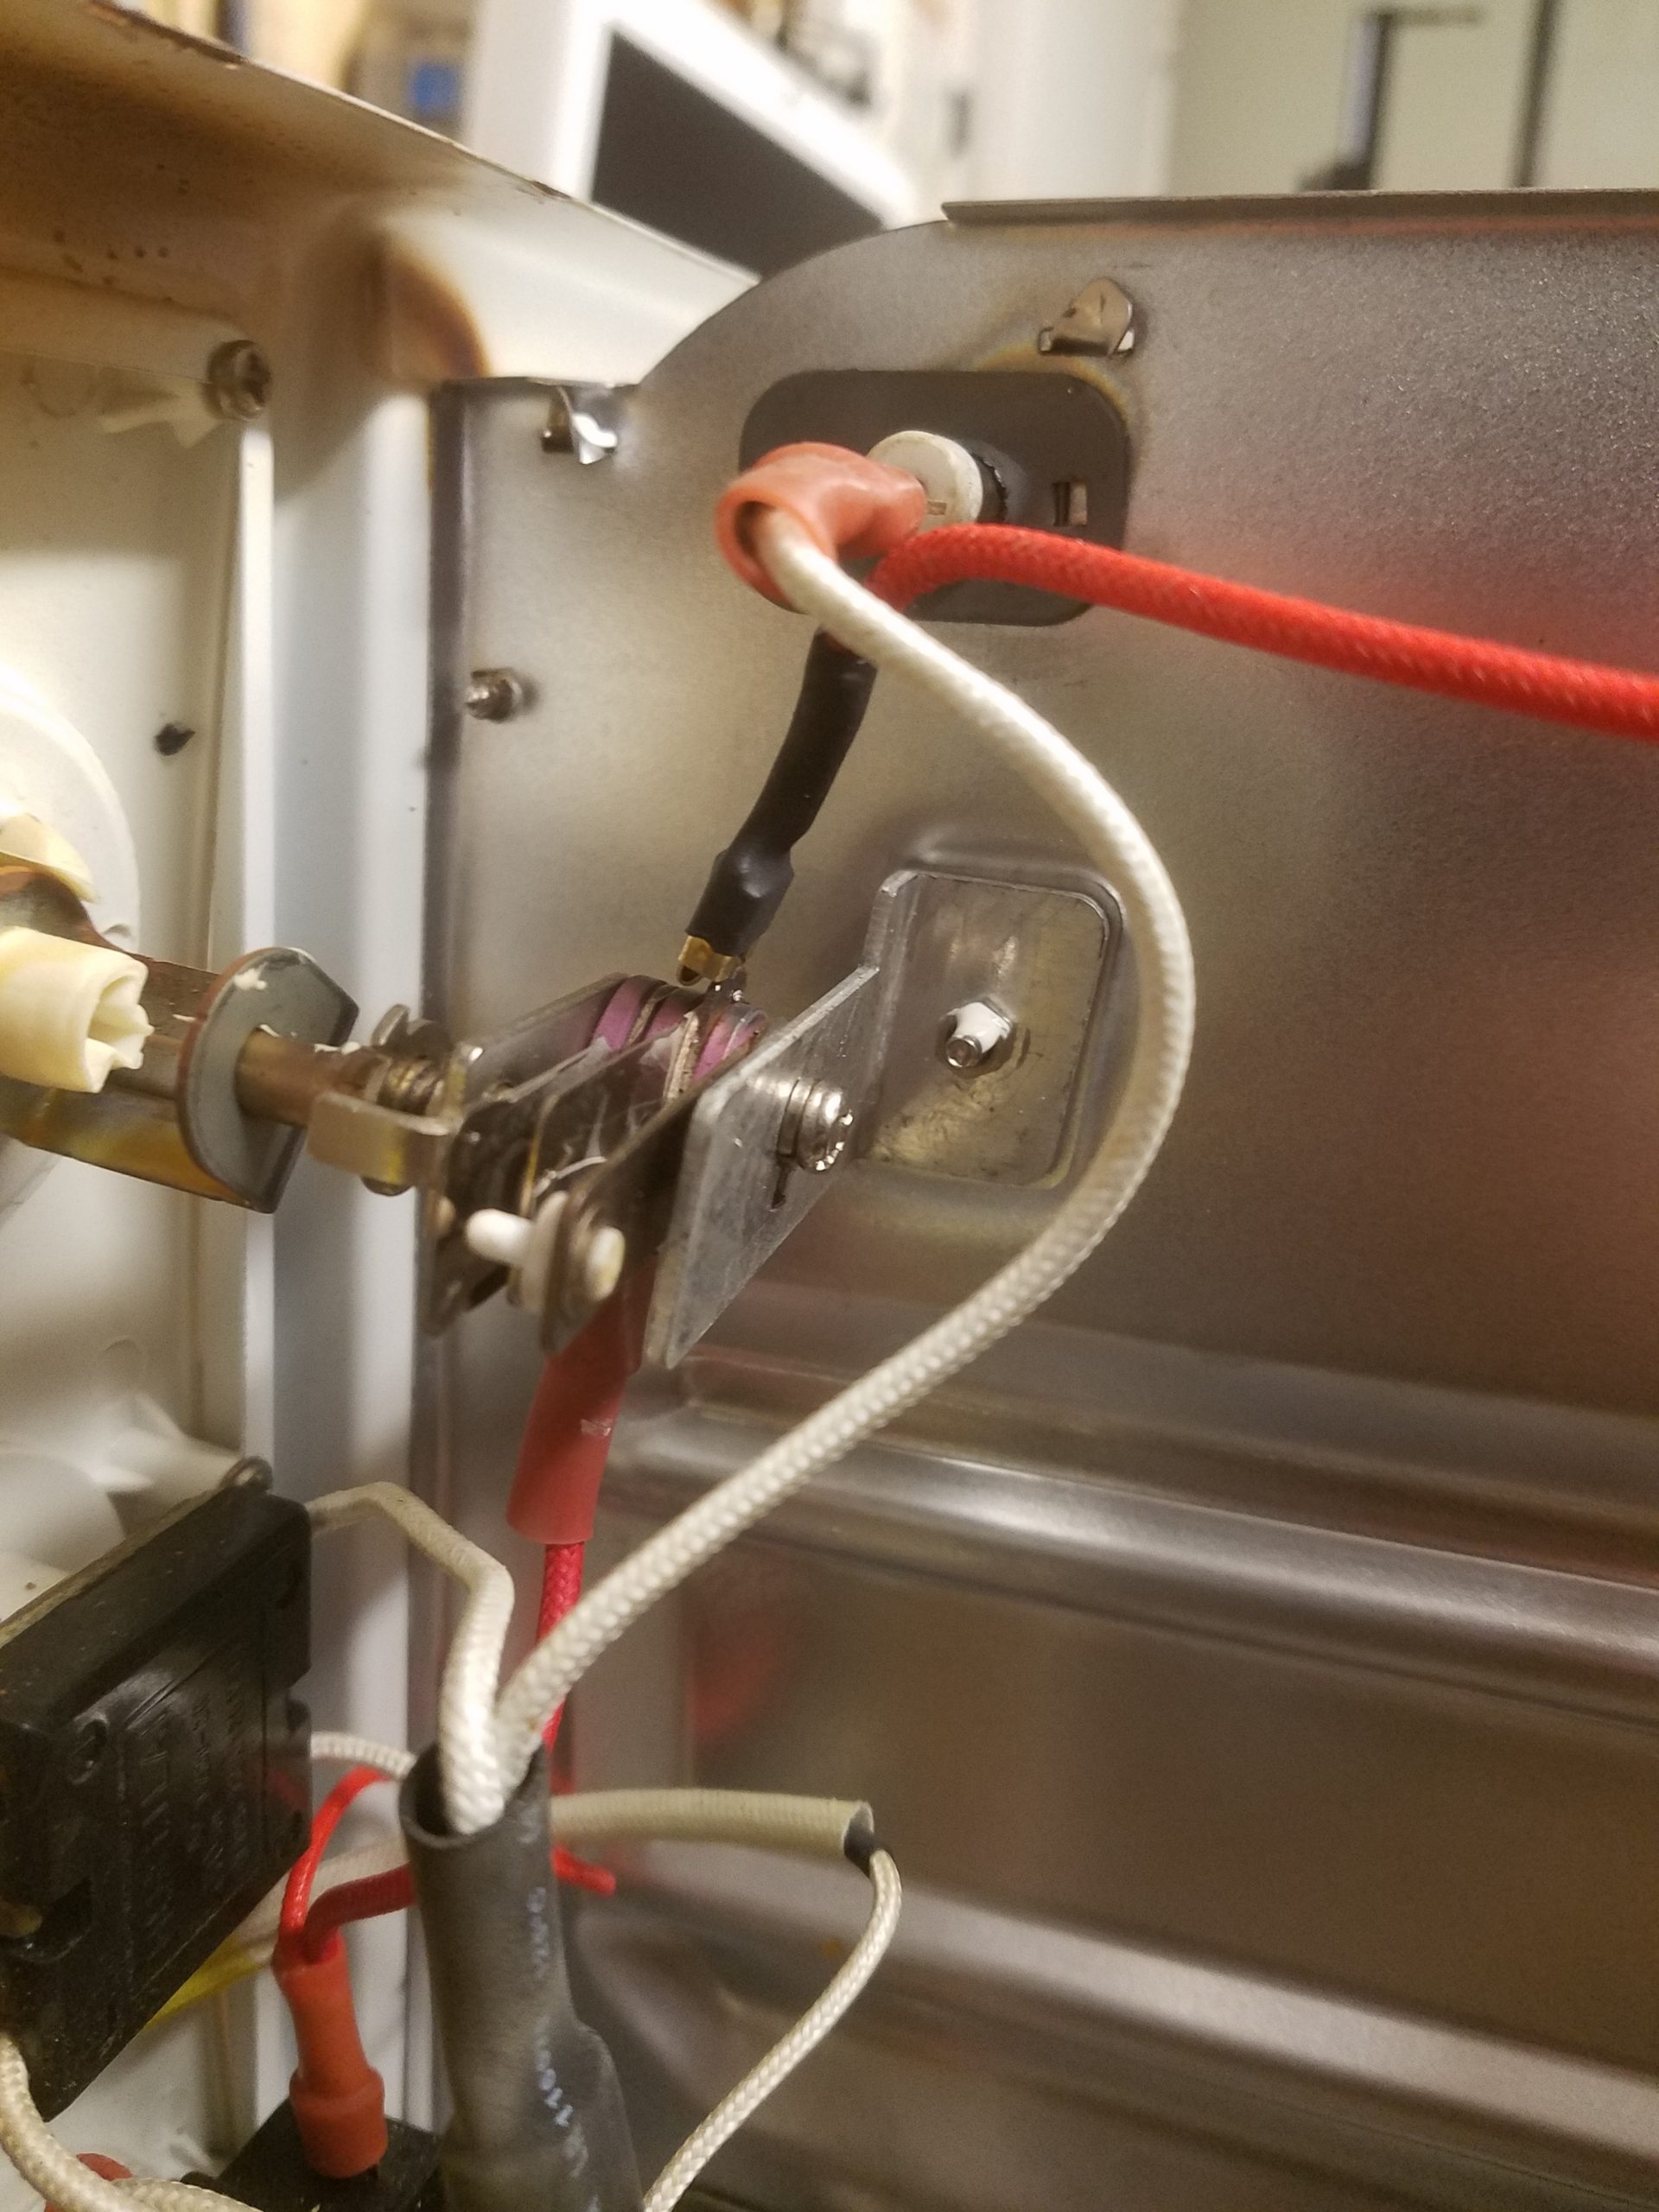
I use a brass brush to remove all the built up rust on the jack of the control dial. I dig through my old dynamo light wiring kit for a female slide-on connector and heat shrink tube. I find what I am looking for. I cut the end of the wire to get rid of the rusted lead and use some small gauge wire strippers I recently picked up (16 AWG stranded fits) to expose some wire. I use a crimping tool on the slide-on connector and wire. I heat the heat shrink tubing into place.
Dial goes back in. Leads connected to jacks.
Hm.
I plug it into the workshop power outlet and turn the oven on.
No sparks. No buzzing. Funny smell? No, just burning bread crumbs. The thing works again.
Hooray.
“I regret to inform you that your toaster oven is working again.”
My wife, “I was hoping to get a new one.”
“Sorry.”
Toaster oven model and make:
Euro-Pro X ™ Toaster Oven Four / Grille-Pain
Model: TO284
Fabrique en Chine

Broken part:
Huahui MR-39 0108 120V/15A